What You Need to Setup Tubeless Road Bike Tires
Part #2 of our tubeless road series
Tubeless tires allow you to spend less time fixing flats on the side of the road and more time focusing on what's ahead. In Part #1, Why Use Tubeless Tires on the Road, we covered the benefits and considerations of tubeless road tires. In this article, we explore what gear you need to make tubeless work for you. In Part #3, we will go over how to install and maintain tubeless road tires.

WHAT YOU NEED For tubeless
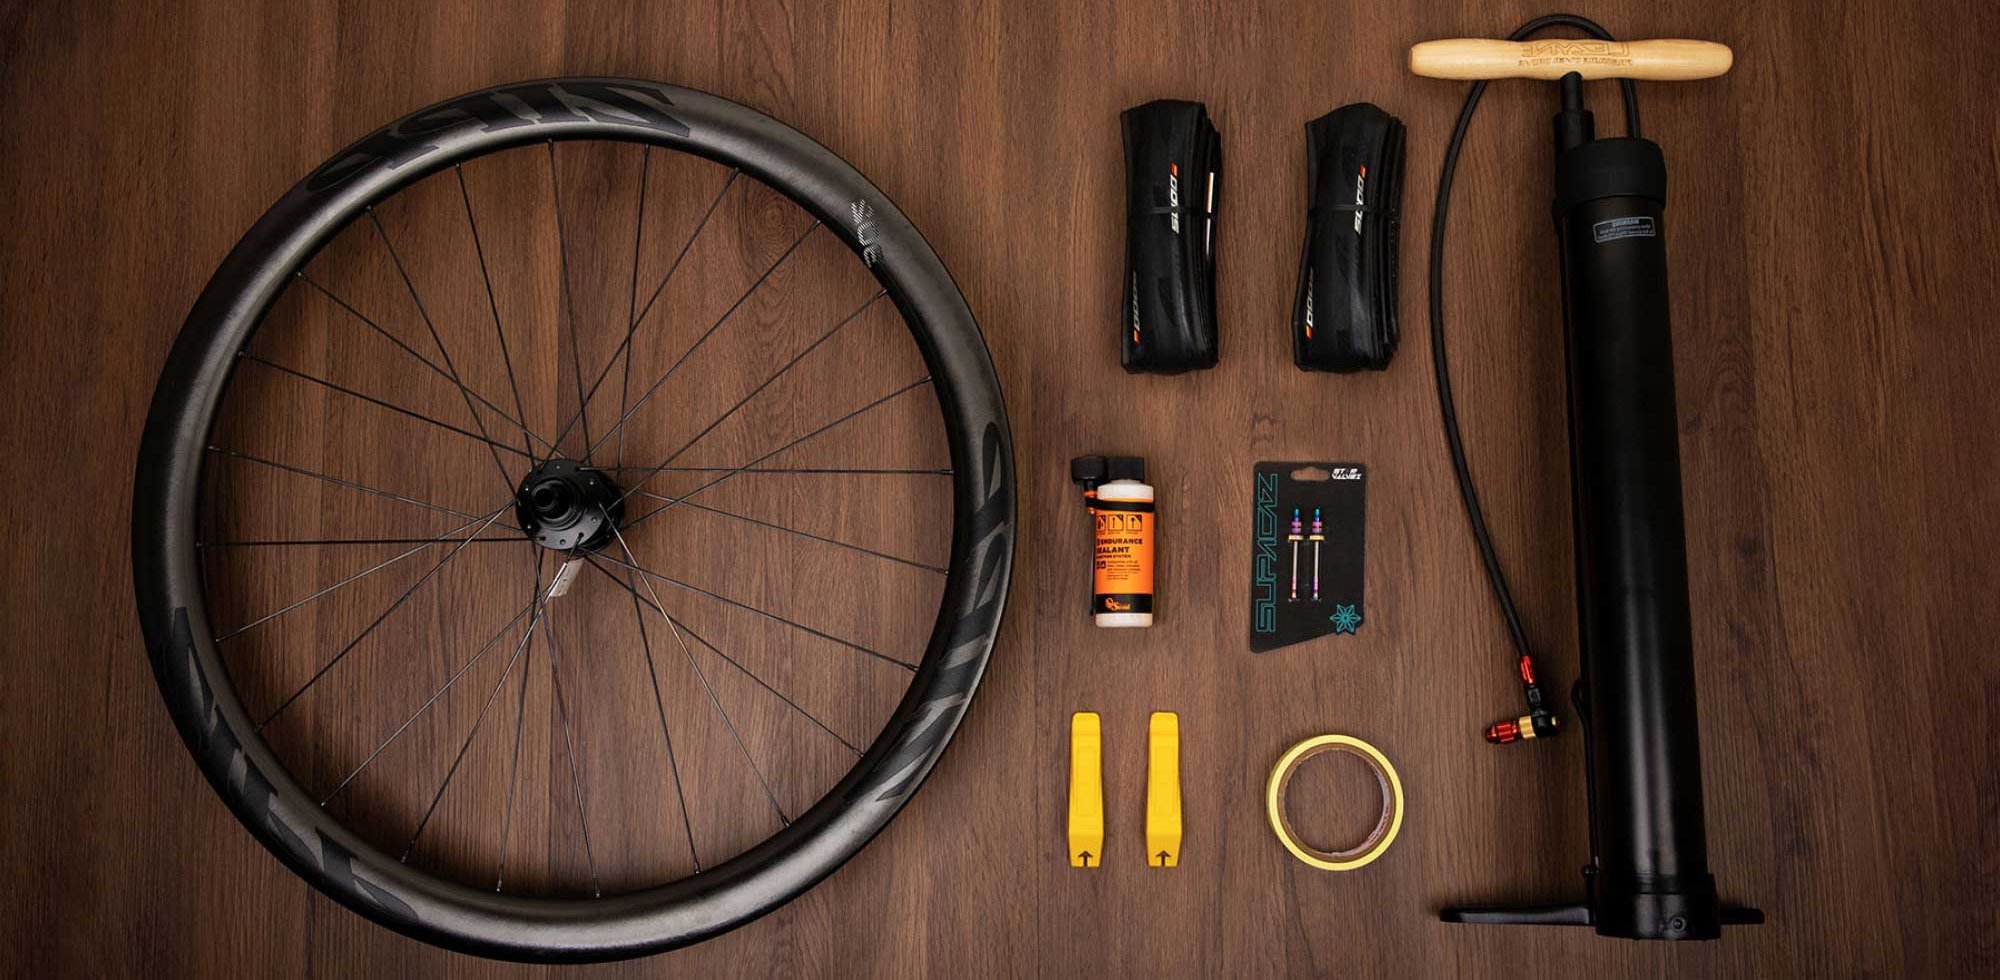
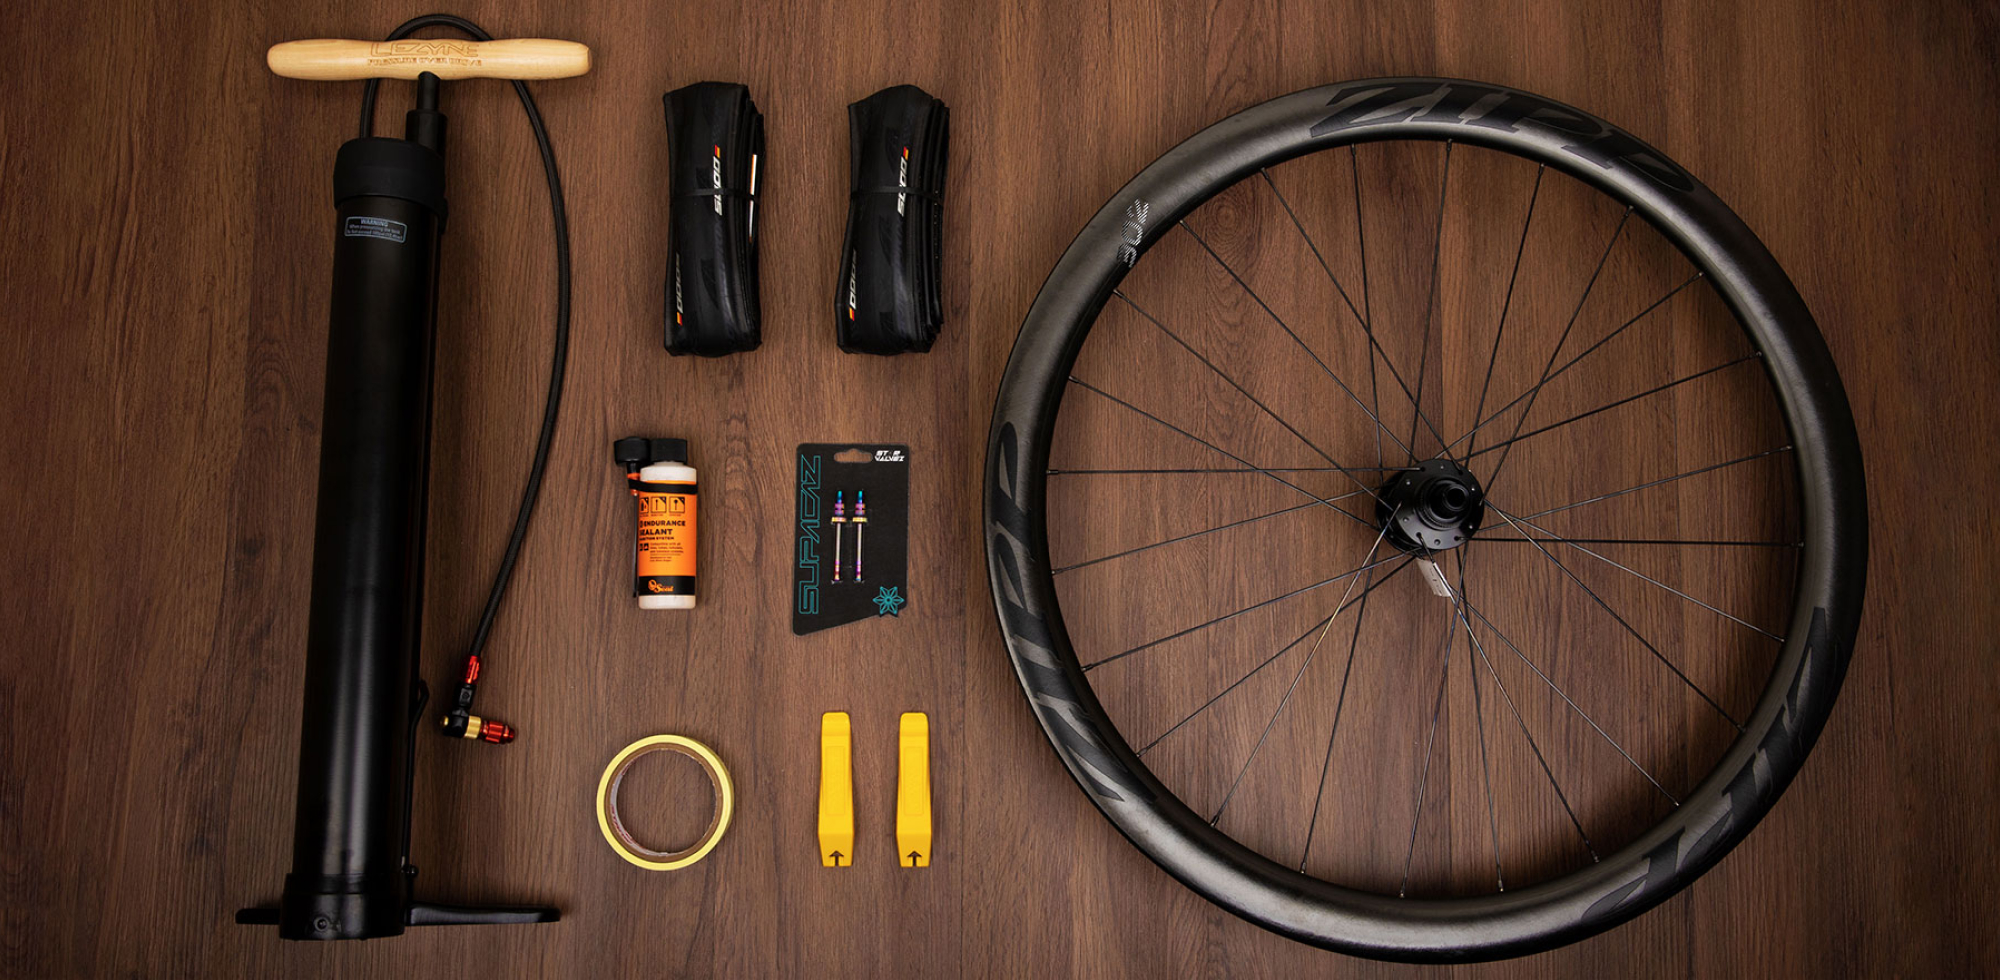
Going tubeless can be daunting and overwhelming. But it is much more simple than it seems. These are the essentials for getting your tires setup and ready to roll.
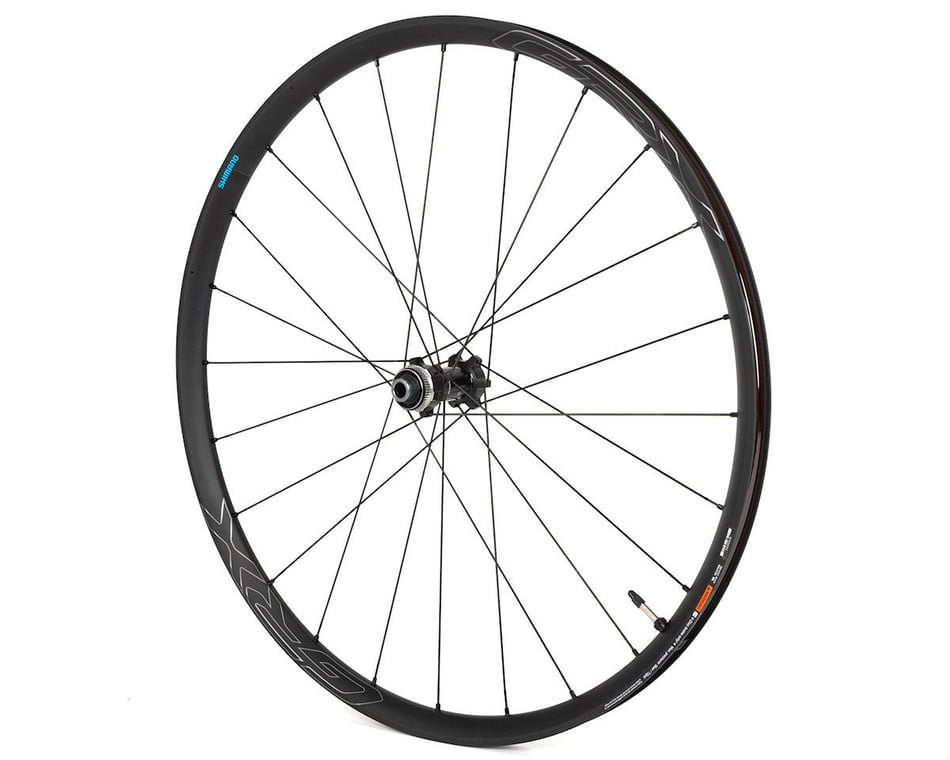
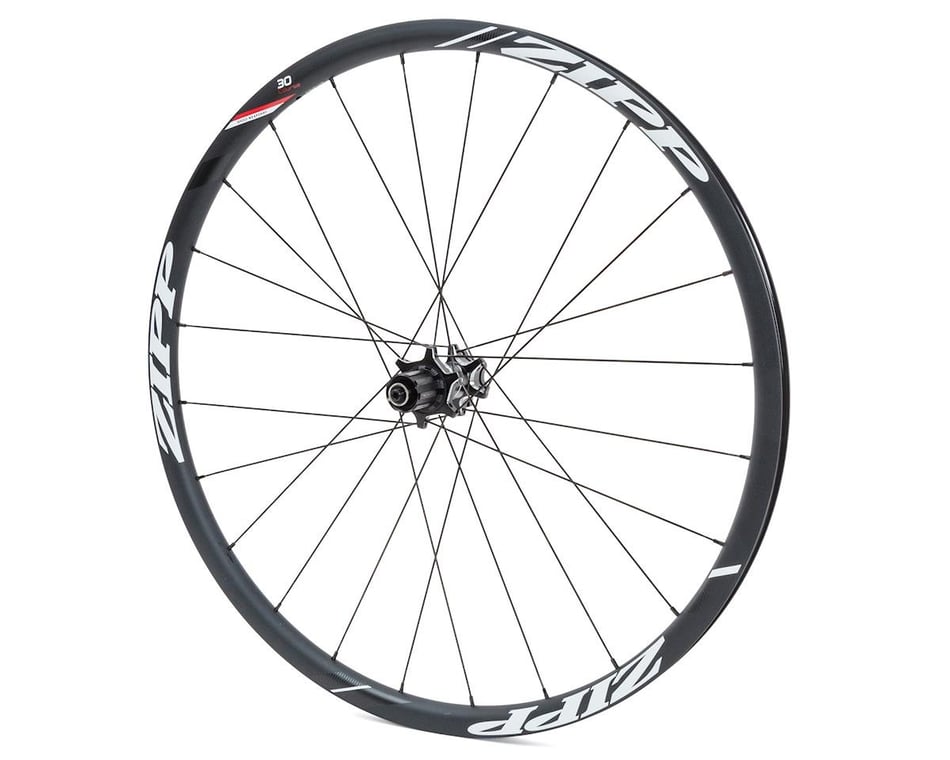
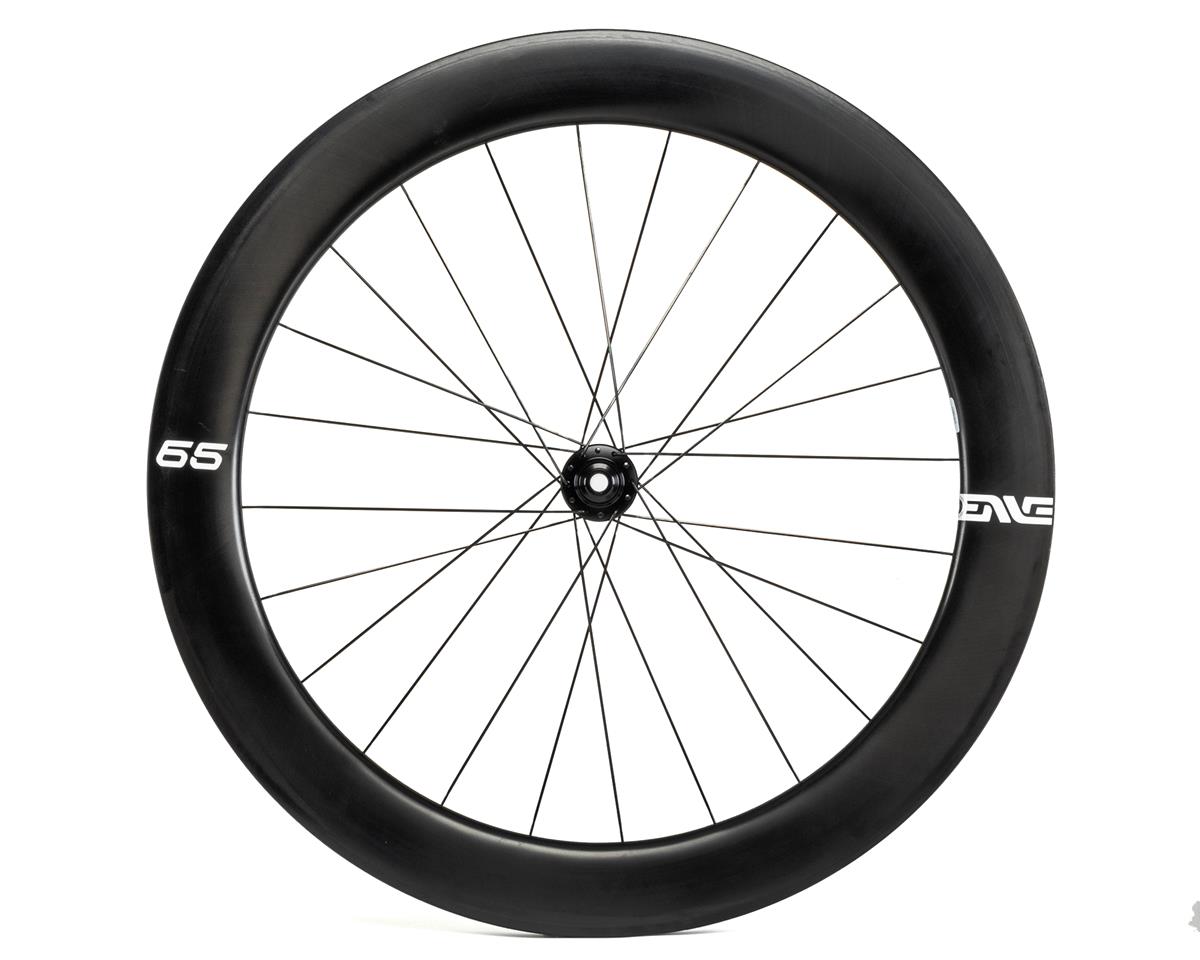
TUBELESS-READY WHEELS
Tubeless wheels differ from traditional wheels in that they have a bead lock rim that allows a tubeless tire to catch and become airtight. Using a tubeless-ready wheel simplifies both setup and maintenance. Plus, using a non-compatible rim can be downright dangerous. Some wheels may require additional rim tape to set them up for tubeless, others come with tape pre-installed. If you're looking to upgrade, check out these tubeless wheels:
Top Brands

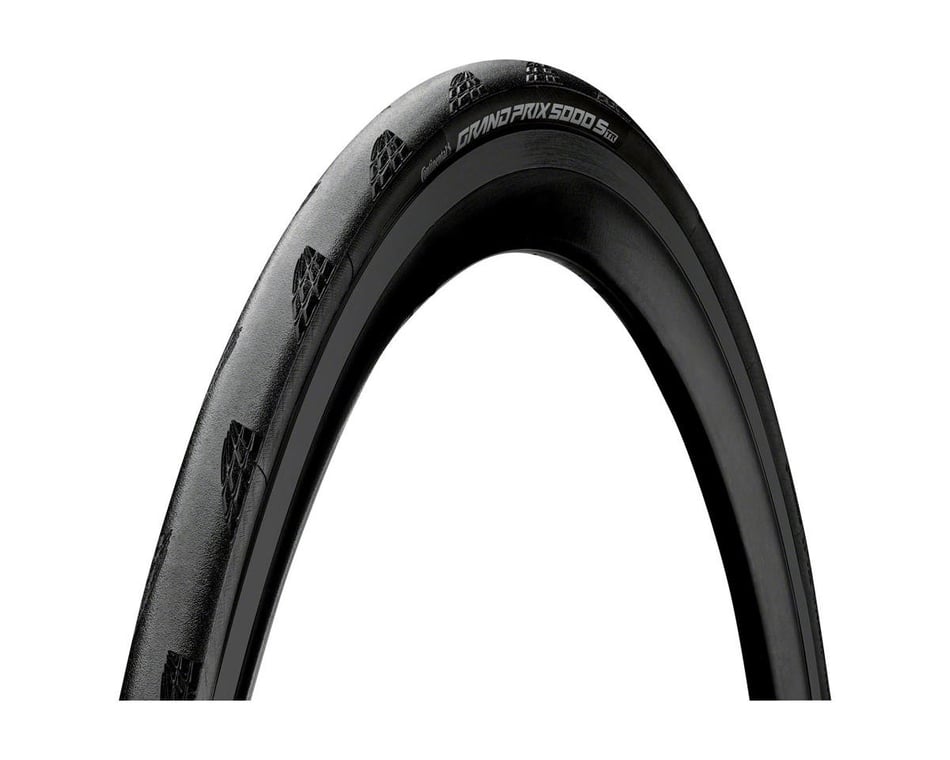
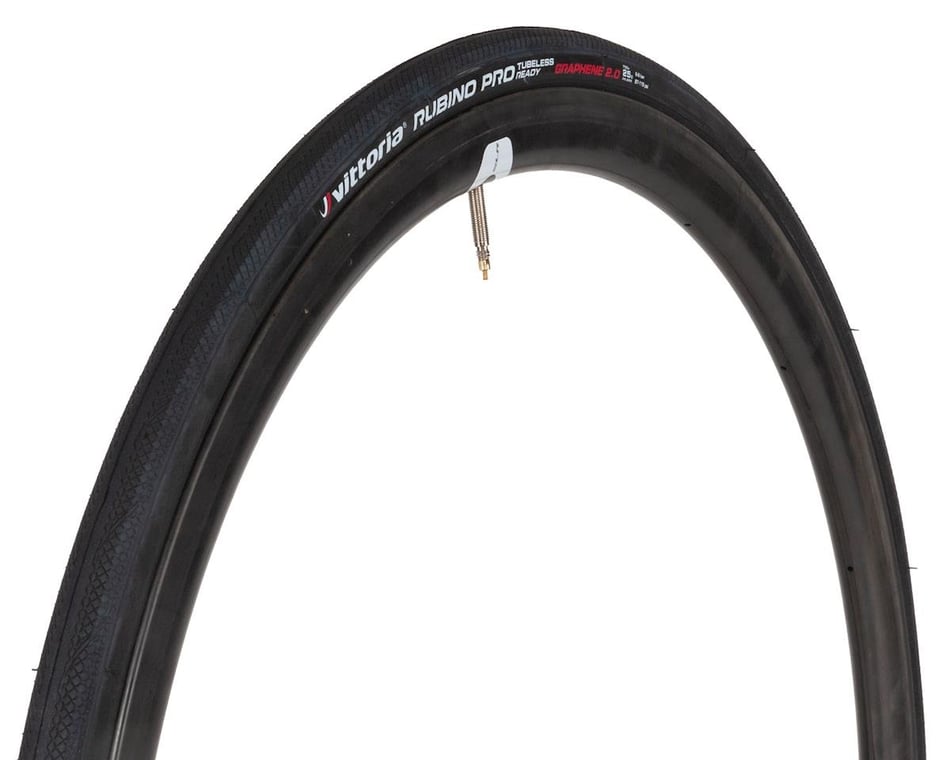
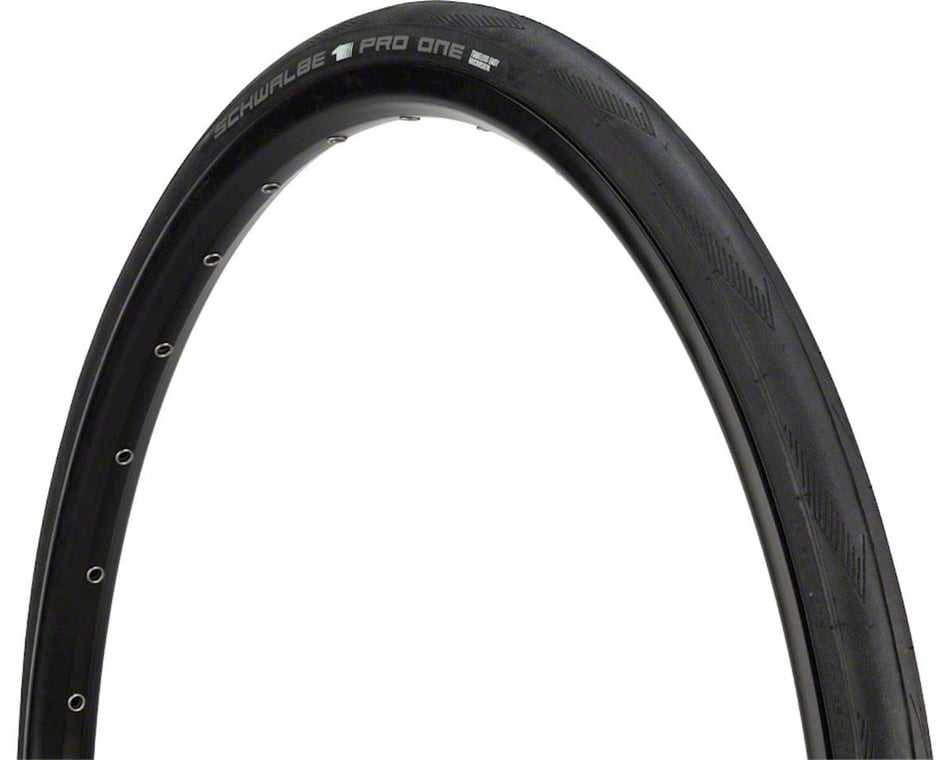
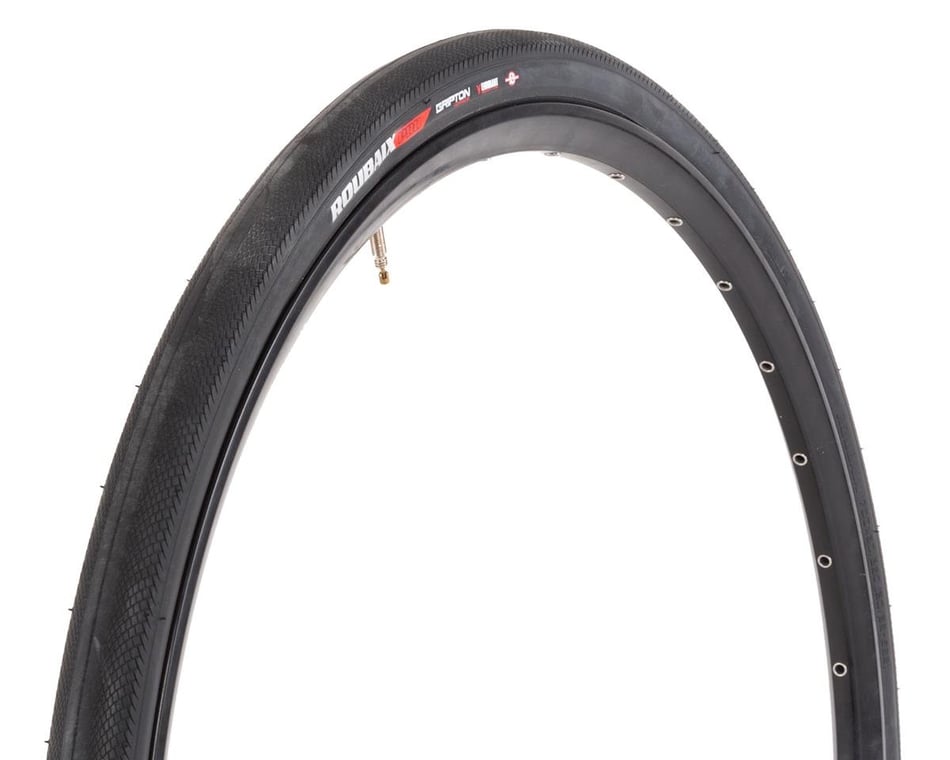
TUBELESS TIRES
Usually labeled Tubeless or TLR (Tubeless Ready), tubeless tires have a bead the “locks in” to the rim for a secure and air-tight seal. Some tubeless tires use a Butyl rubber liner (what inner tubes are made of) to seal the tires and reduce air seepage. Tubeless road tires come in a wide range of widths and sizes. For best results, we recommend using a larger volume road tire such as a 28mm width or wider. Just make sure your frame has enough room to handle larger tires.
Top Brands
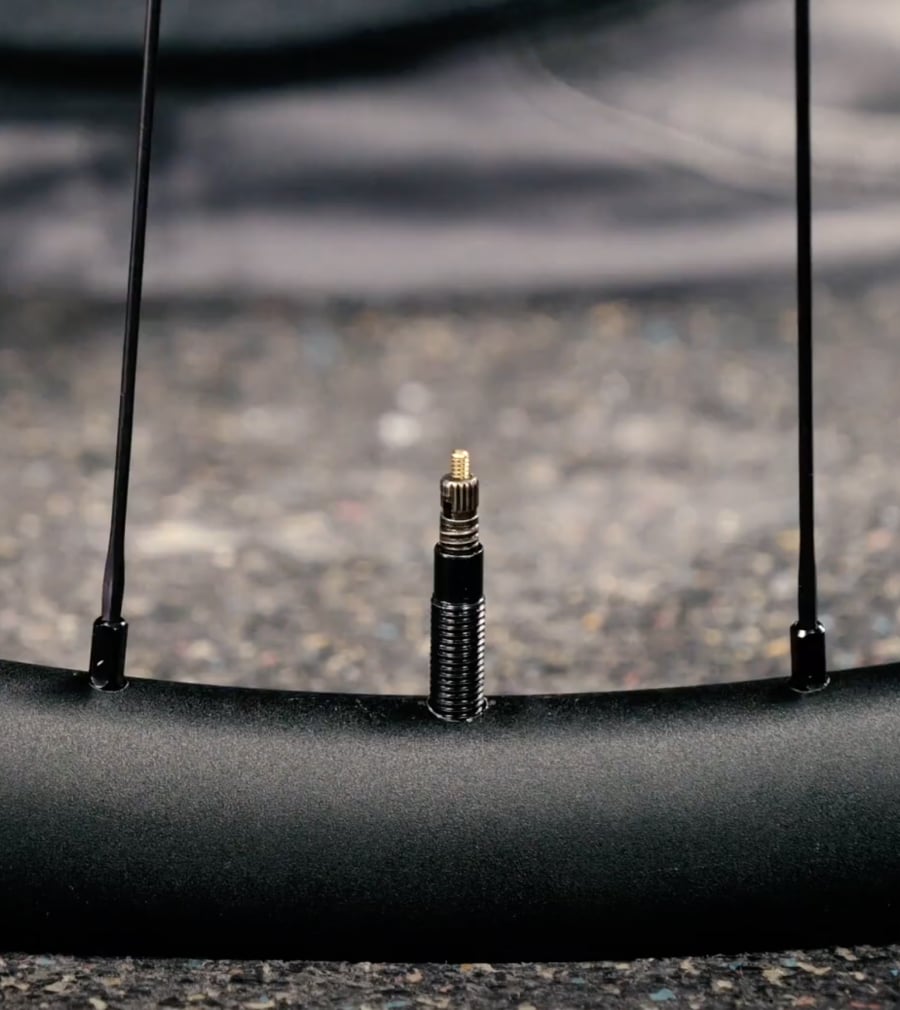
TUBELESS VALVES
Tubeless valves look similar and function just like regular valves on an inner tube. Only the air you pump through this valve goes straight into the tire. For deeper carbon rims, make sure to get a long enough valve for your situation.
SHOP ALL TUBELESS VALVESTUBELESS SEALANT
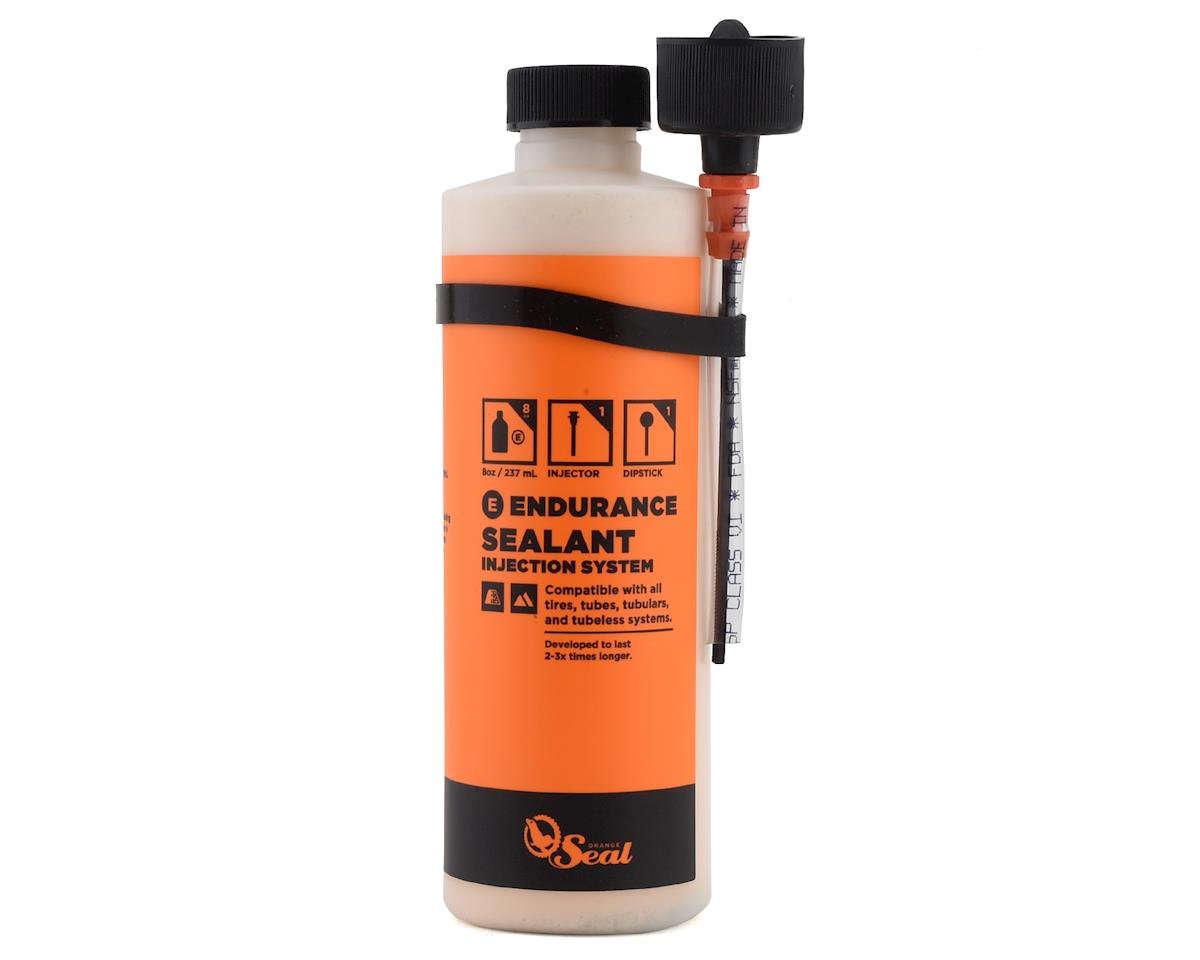
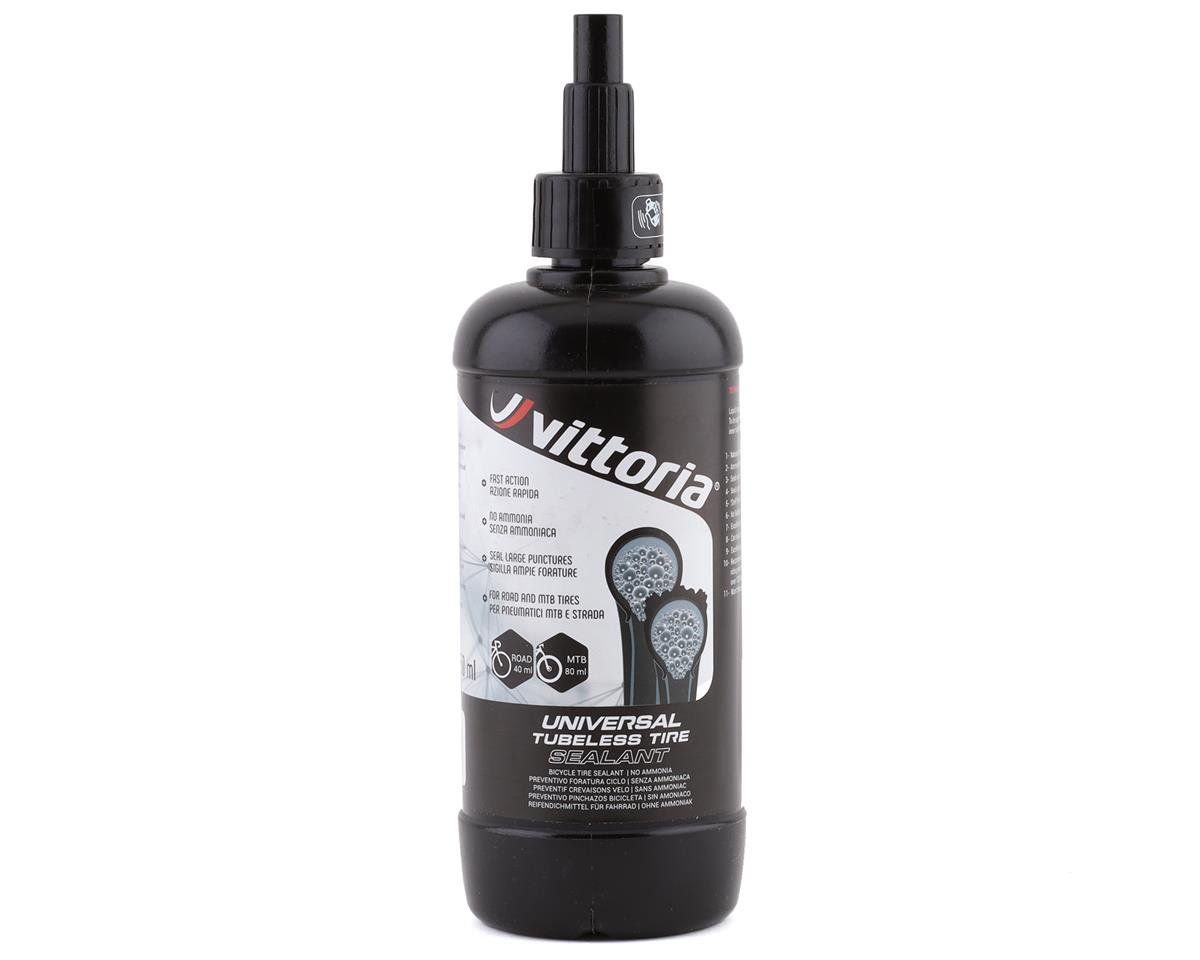
Sealant is used inside the tire to fill in any remaining gaps where air might seep out. It is a liquid and when the wheels roll, it will constantly move to coat the inside of the tire and rim.
Sealant needs to be added periodically to perform its best—usually every 3-4 months, more often if the bike is stored somewhere hot and dry. Also, if you experience lots of punctures that cause the sealant to spray out as it reseals, you will need to need to top off the sealant. Check the back your sealant container to see how much should be added for your tire size.
The easiest way to top off your sealant is by removing your valve core (with a valve core tool) and adding the sealant directly into the tire with a sealant injector.
Our Favorites
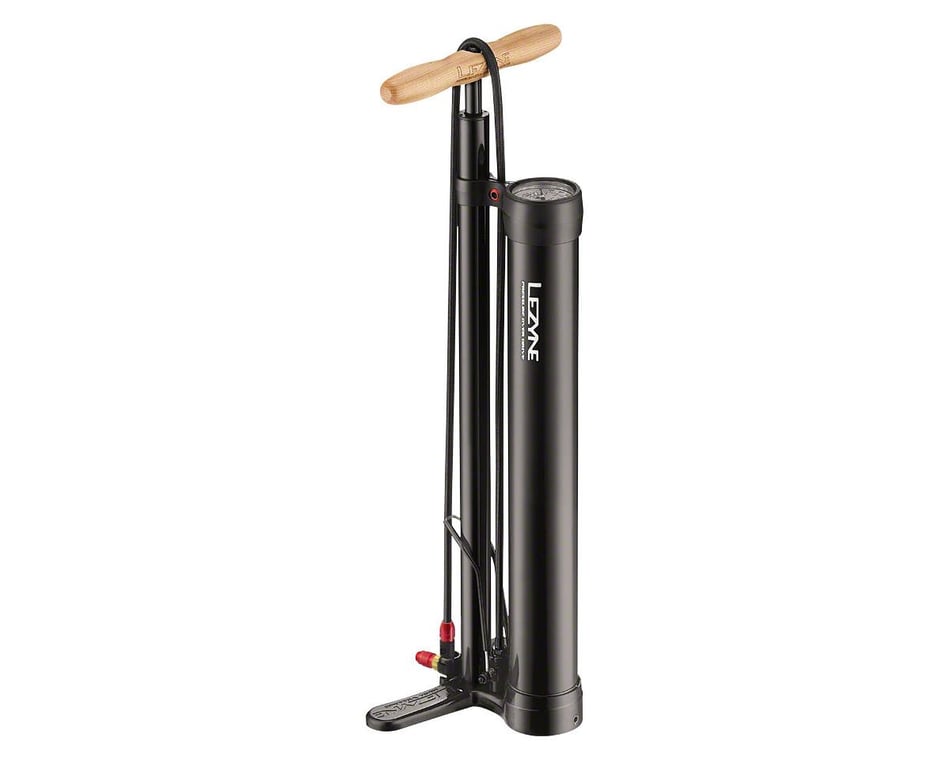
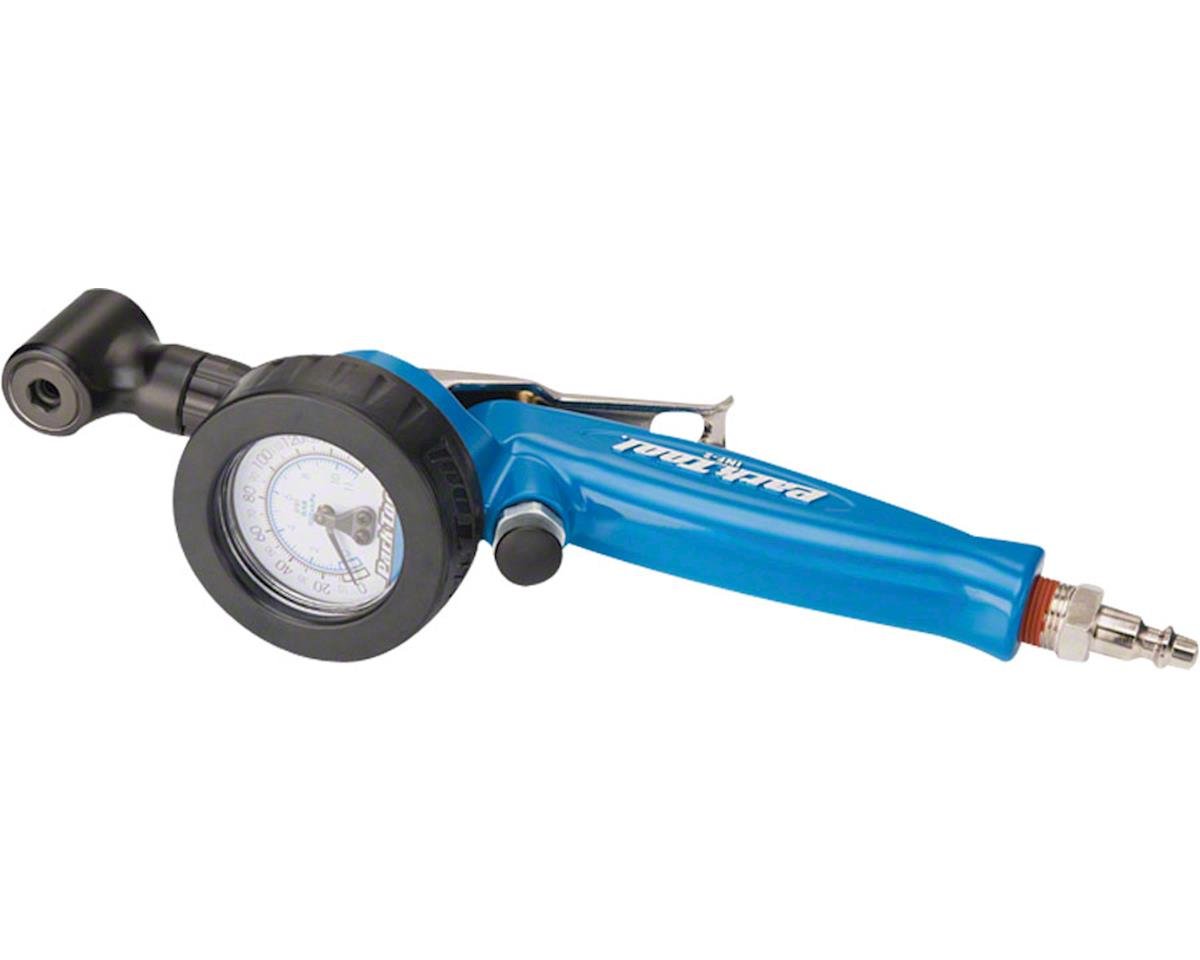
Tubeless Inflators
To seat a tubeless tire, you will need a quick burst of air. A bike shop, will use an air compressor for this. While this is the most effective method, not everyone has space or money for an air compressor in their home. Other options include using a specially-designed floor pump with a pressurized barrel, a standalone booster canister (that you can pressurize using a floor pump), or simply using a CO2 inflator. It should be noted that CO2 is best suited for roadside repairs and, while it will work for home tubeless installation, you may end up using multiple canisters during the process – a costly and wasteful solution.
Tubeless Inflator Options:
Roadside Repair Tools
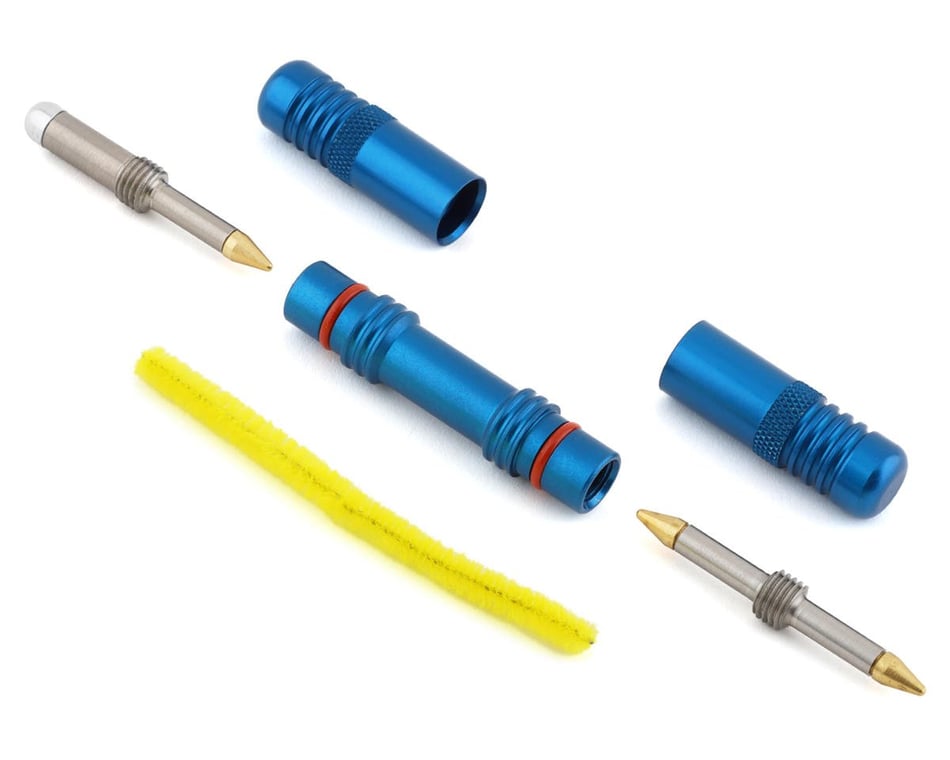
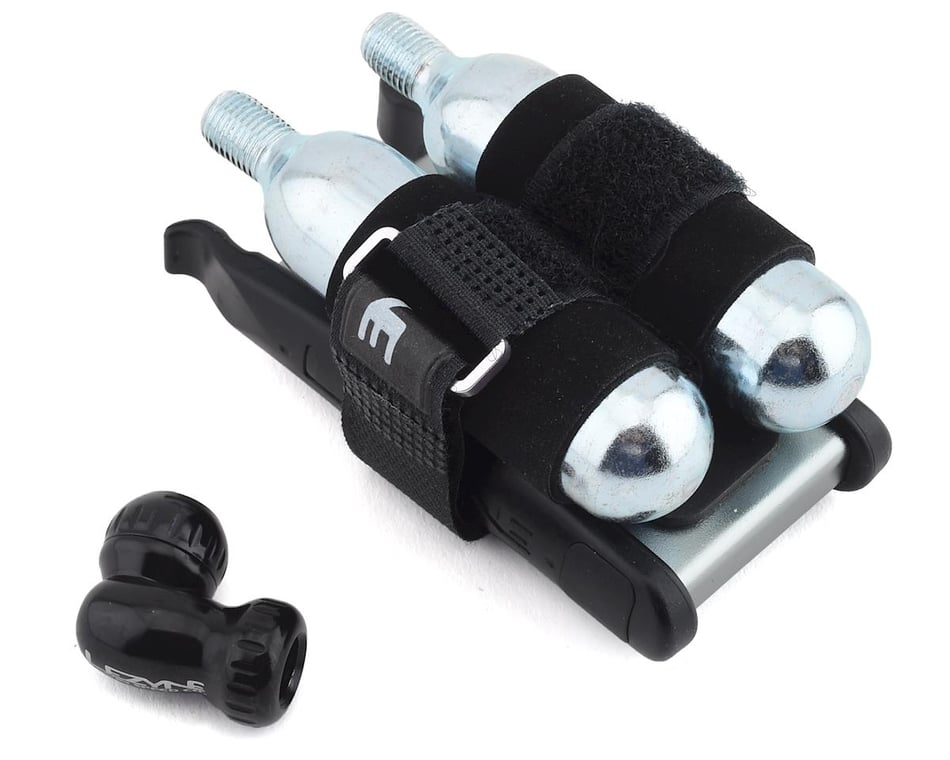
For smaller punctures, tubeless tires usually seal themselves. However larger gashes may be too big for sealant alone. For these situations, it’s important to have a tubeless plugging tool that works with the sealant to effectively stop further air loss. You will also want to cary a CO2 inflator just incase your tire bead comes unseated.
At Performance, we are huge fans of Dynaplug tubeless pluggers. We feel that they blow the competition away when it comes to reliability and durability. Unlike other tire plugs, you can continue to ride on a Dynaplugged tire for the rest of the tire’s life. And while Dynaplugs are slightly more expensive than some other options, we think they are worth every penny. For more info on Dynaplugs, check out these articles.
Road Tubeless Checklist
- Tubeless-Ready Wheels
- Tubeless Tires
- Tubeless Valves
- Sealant
- Inflator (Air Compresser, Pump, or CO2)
- Roadside Repair Tools (Plugger & CO2)
- Valve Core Tool
- Sealant Injector
- Tubeless Rim Tape (only needed if rim does not come pre-taped)
Related Articles