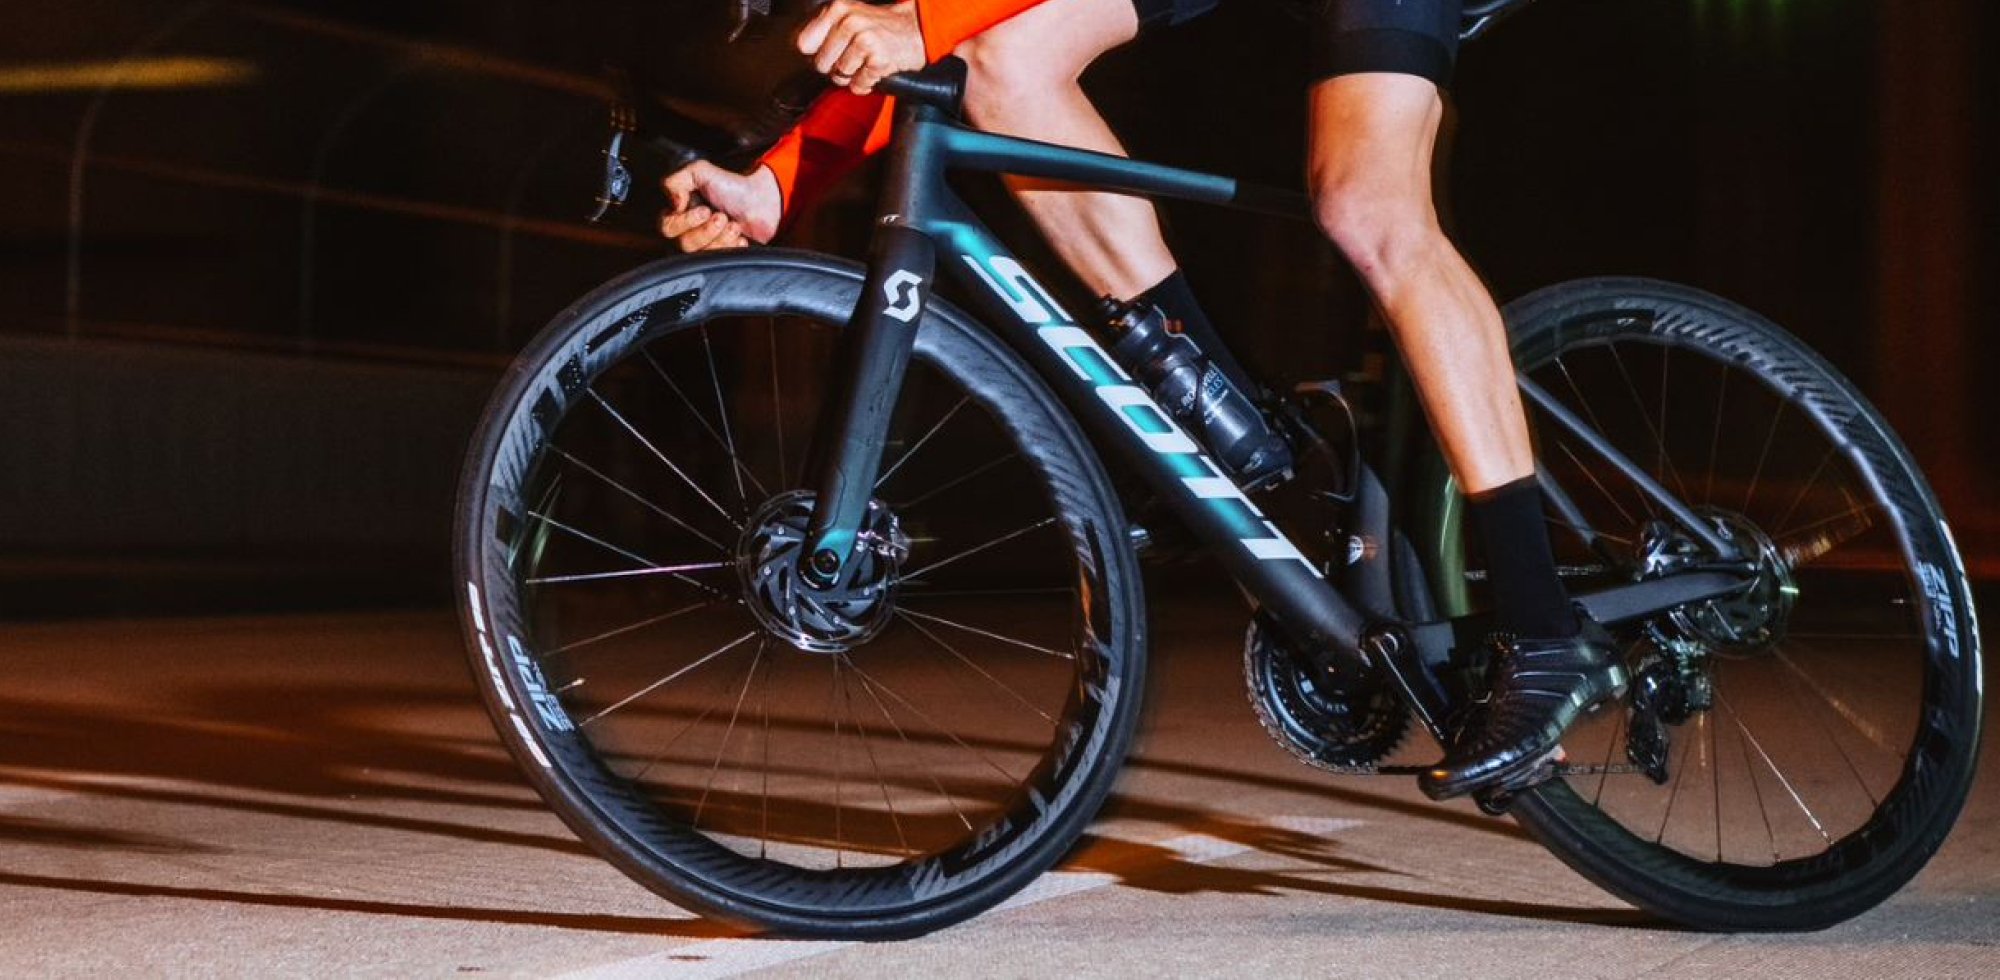
How To Install & Maintain Tubeless Road Bike Tires
Part #3 of our tubeless road series
In part #1 we covered the reasons why tubeless might work for you. In part #2 we looked at the gear needed to get setup. Now it’s time to get down to business and get these tubeless tires installed.
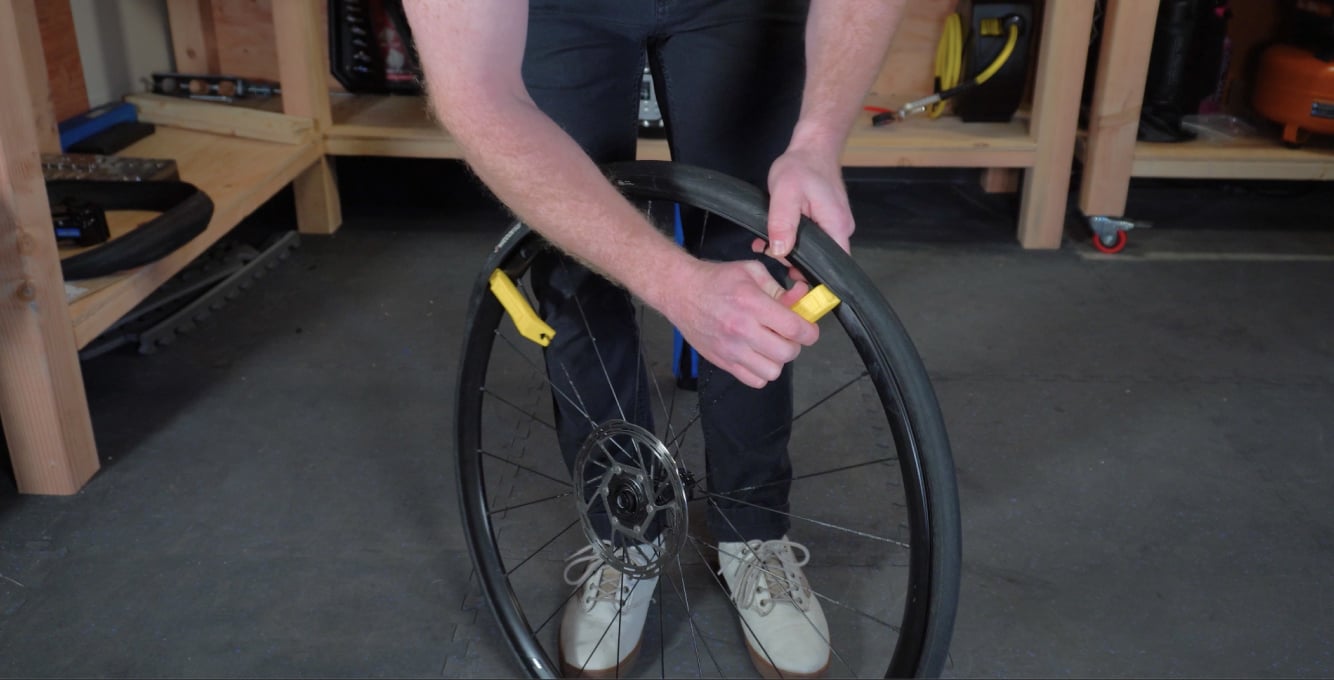
Step 1 – Remove Old Tire
If you already know how to fix a flat, this step should be simple. First, deflate the tube and then de-bead the tire – places the beads into the center channel of the rim. Then use tire levers to pry off the tire, sliding all the way around the rim until it is fully unseated.
Step 2 – Inspect Rim Strip
Carefully check the rim strip to make sure there are no holes or tears in the tape. This is very important because the strip needs to create a seal and any slight discrepancy can cause the tubeless setup to fail. Pay special attention to the point where the strip is cut to ensure that the tape is fully stuck.
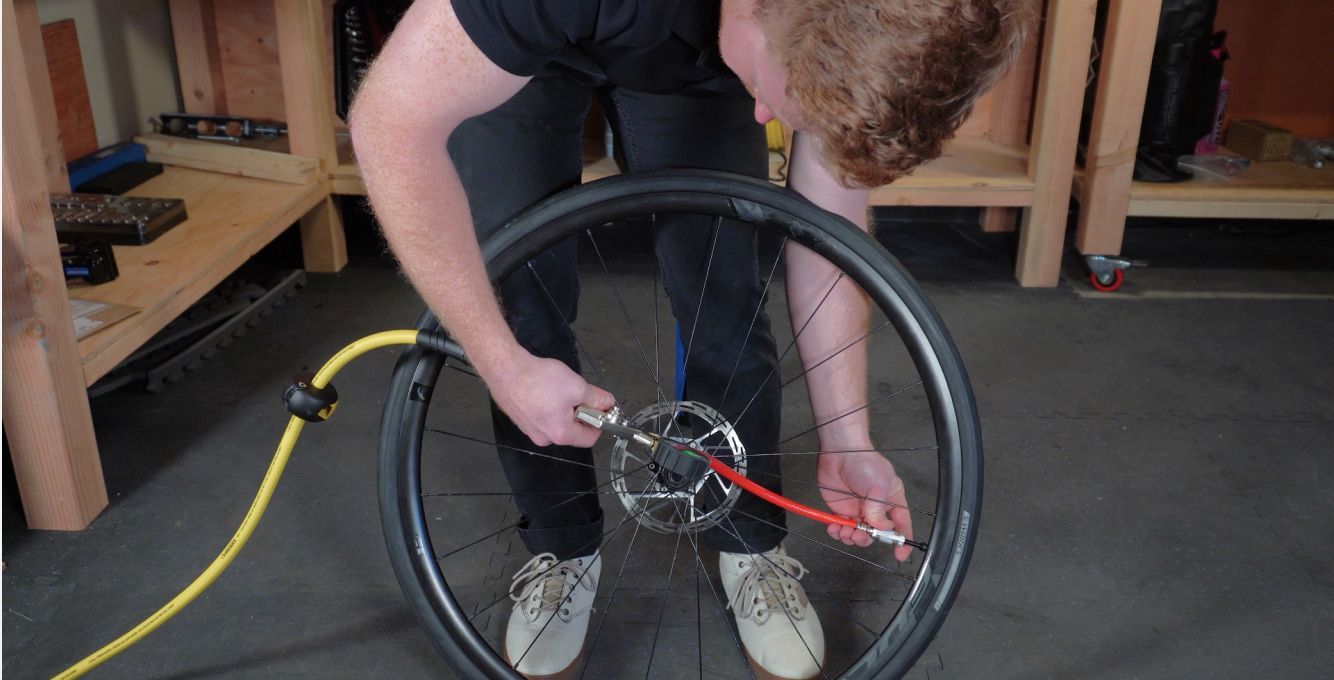
Step 3 – Install Valve Stem
To install the tubeless valve stem, push it through the rim and bed it into the rim strip. Add the nut to the valve stem and tighten with your fingers. Then, take a blunt object (such as a tire lever) and press down on the base of the valve – this should allow you to tighten it a little more.
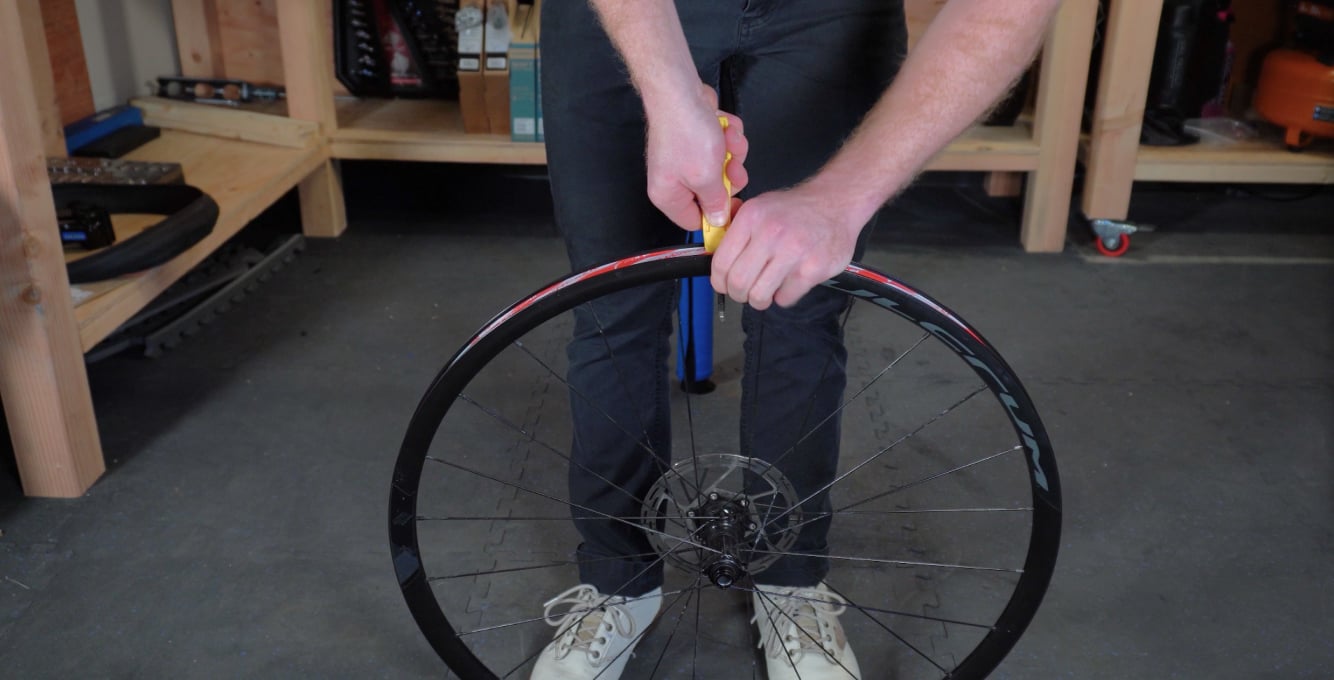
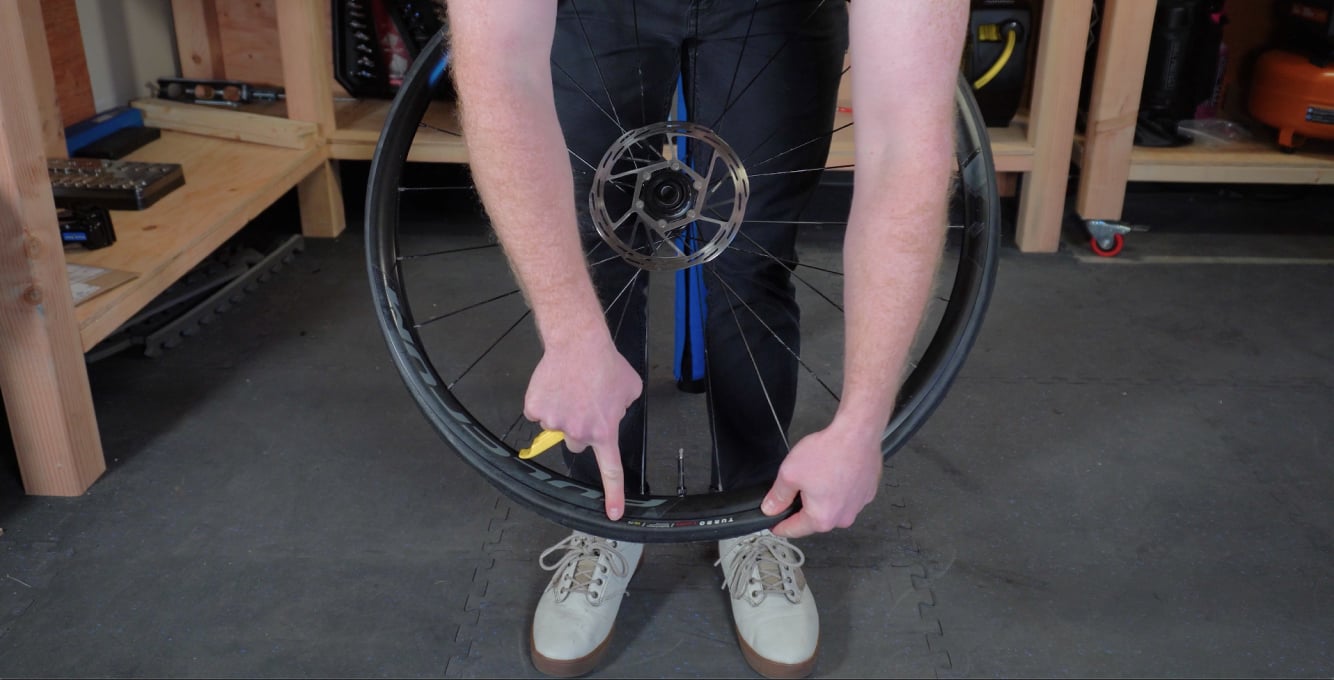
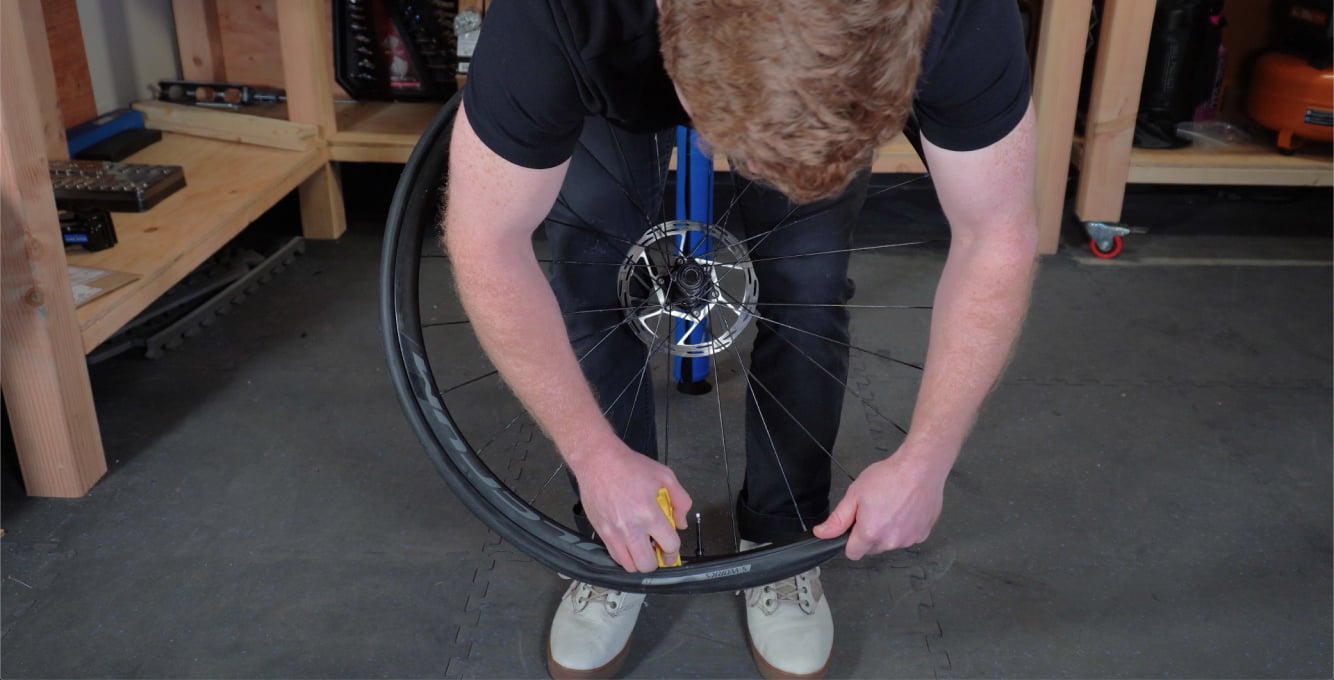
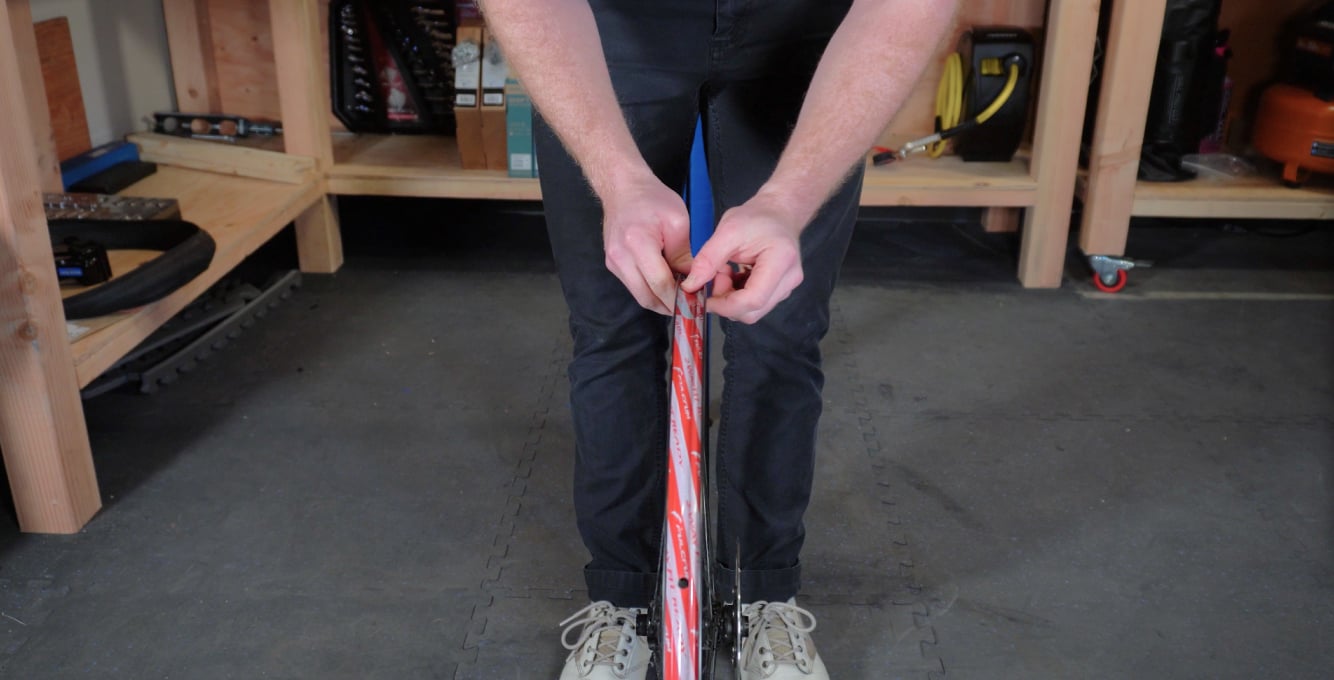
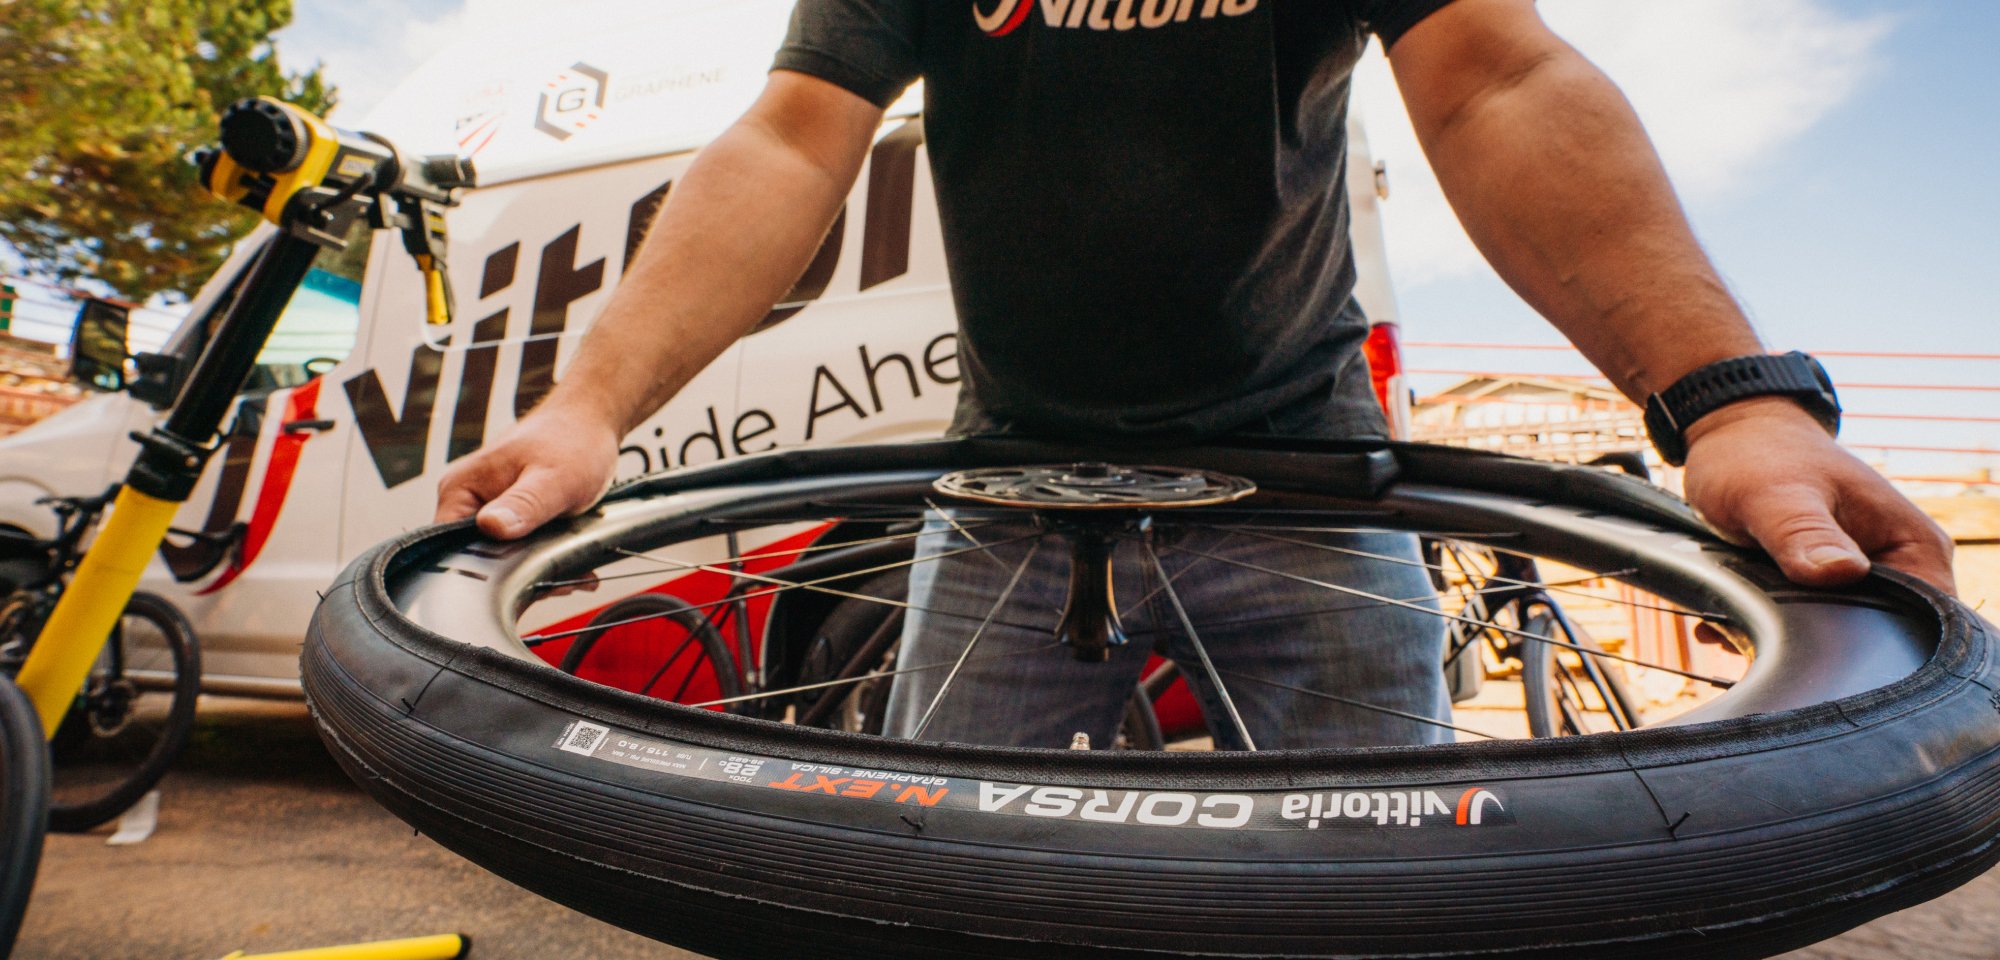
Step 4 – Install New Tire
Tubeless tires can be installed just like a tubed tire; however, the tire beads are sometimes tighter. Start by placing the wheel into the middle of the tire, so that you have better alignment for installing the tire beads. For a pro look, line up the logo (AKA hot patch) on your tire with the valve stem – this can also help with locating punctures when out on the road. Start from the opposite side of the valve stem and pop one side of the tire bead into the rim. When you get to the valve stem, you may need to use a tire lever to get the last bit on. Flip the tire over and repeat the process. At the end, it will be even tighter than the other side and will most likely require a tire lever. When using a tire lever, take care not to damage the tire bead as this can affect the tire’s ability to seal. If the tire is really tight, try moving back to the far side of the tire and massage the tire around to move any available slack over to the point of tension.
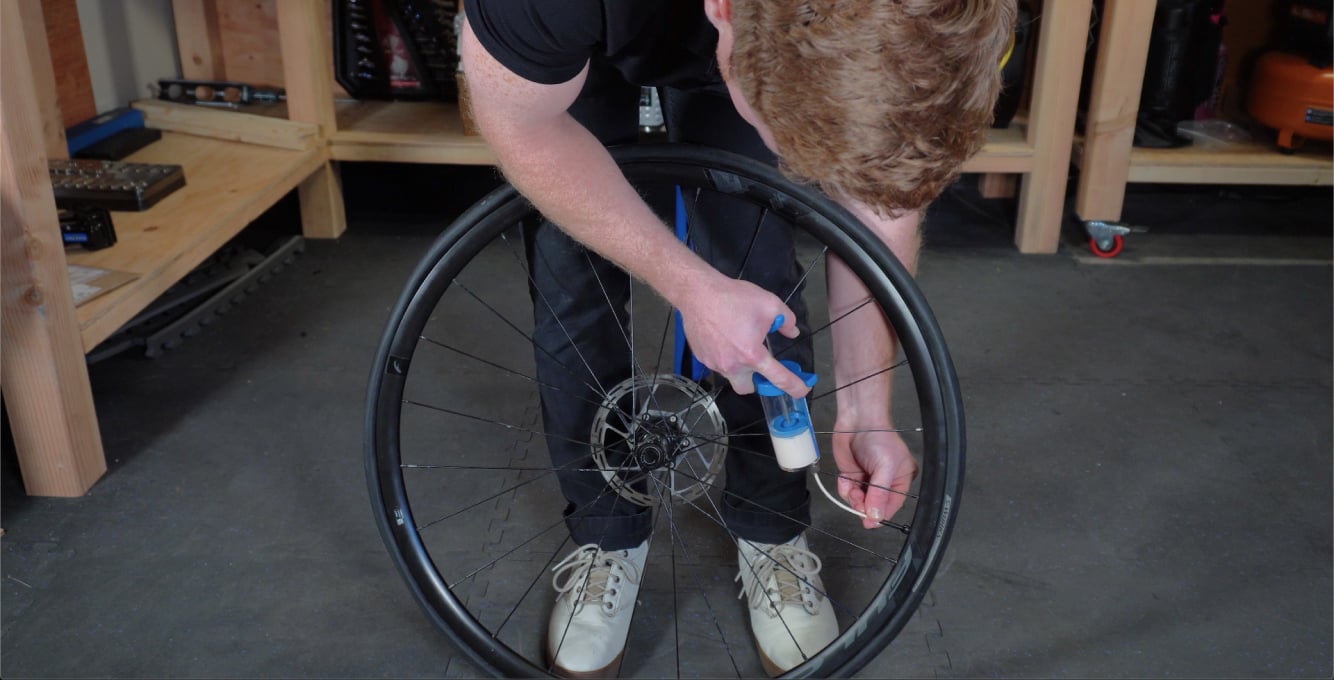
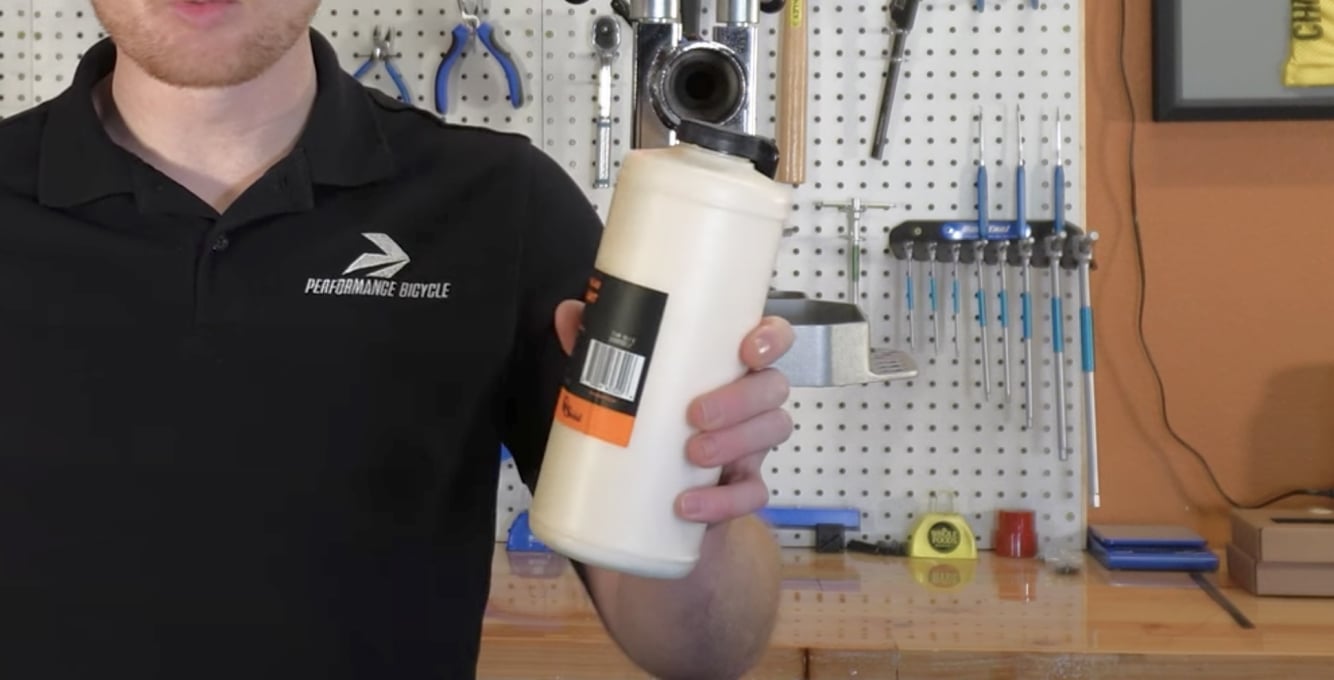
Step 5 – Add Sealant
For road bike tires, it’s best to add sealant through the valve. First remove the valve core with a valve core removal tool. Then add sealant using a sealant injector. Some sealant manufactures include sealant injectors built right into the bottle cap. Check the bottle for the recommended amount of sealant – there will be different recommendations based on your tire size.
Step 6 – Inflate Tire
Use an air compressor or tubeless tire inflator to provide a large burst of air pressure. This is best done without the valve core installed to allow for maximal air flow. Once you hear the bead snap into place, remove the inflator from the valve and quickly cover the outflow with your finger to prevent air from escaping. Reinstall the valve core, inflate to your desired PSI, and you’re all set to go!
Precautions:
- Don’t inflate past the manufacturer recommendations for your tires or wheels. This can be both dangerous and cause damage.
- When seating the tire, it is wise to wear safety glasses. While it is relatively rare, sometimes tires can fail under high pressure.
- While older rims can theoretically be converted to tubeless, this practice works much better for mountain bikes with high-volume tires. On road bikes, tubeless-ready rims and tires are your best bet.
Troubleshooting & Hacks:
Most of the time, modern tubeless installation is fairly straightforward so long as you follow the right steps, but occasionally, a stubborn tire makes things difficult. If you are having trouble with getting your tubeless tires to seat, try these tricks and hacks.
- Install a tube and let the tire settle in for a day or two before switching to tubeless. This will help the tire stretch out a bit and can make seating the bead much easier.
- Make sure the bead is in a good position. Ideally, the bead should be settled into the center of the rim in such a way that it already creates a seal between the bead and the rim strip. If it’s positioned right, the burst of air has nowhere to go and will force the bead onto the rim. Also double-check that the bead is positioned correctly around the valve.
- Make sure that air isn’t escaping behind the rim strip into the spoke holes
- If the valve stem isn’t new, check that it’s cleaned out and free of sealant blockage
- Let the tire sit in the sun. Warming up a tire makes it more supple, allowing it to move easily into position.
- If you are worried about a mess, try seating the tire before adding sealant. Some of the better modern tubeless rims and tires can be seated dry.
- Research tire and rim combinations that are known to work well together. Some pair better than others. A Google search or Reddit check might the ticket to finding the perfect combination.
- If you don’t have an air compressor, you can grab a Presta to Schrader valve adapter and use the air compressor at your local gas station.
- If a tire has a very slow leak (such as losing 10 PSI every hour), make sure it has enough sealant and take it for a short ride. The movement will help the sealant to plug the leak.
Tubeless Maintenance
Top Off Sealant
Refill your sealant every 2-3 months – perhaps more often if you get lots of flats or store your bike in a warm place. For cold winter riding, you may want to use a sealant that is formulated to work in freezing temperatures such as Orange Seal Subzero Sealant.
Roadside Repair
So long as your tubeless system works as expected, you should see a decrease in flats; however, it can’t always be avoided. When fixing tubeless flats, you don’t need to take off your wheel, simply locate the puncture, plug the hole, and pump your tire back up. If there is an object such as a thorn, glass shard, or nail in your tire, be sure to remove it before plugging the hole. For best results, we highly recommend using a Dynaplug. There are other plugging tools on the market, but we feel they don’t compare to the efficacy of a Dynaplug. Want to learn more about Dynaplugs? Check out our Dynaplug Guide.
While a mini pump generally works well for tubeless inflation, it will not suffice if the tire bead becomes unseated. For this situation, carry a CO2 inflator to provide a strong burst of air. Tubeless usually makes roadside repair easy; however, it is still a good idea to carry a spare inner tube, just in case everything else fails. Small tubes like Tubolito or Vittoria Ultra Light are perfect for this situation.
Related Articles
BIKE TIRES HOME
Learn More