Why Use Tubeless Road Bike Tires?
Part #1 of our Tubeless Road Series
Tubes have been used on bikes for years – is tubeless just marketing hype or is it truly the future of road bike tires.
What is tubeless?
In a tubeless tire system, the inflatable rubber tube is replaced with a latex-based liquid sealant. The sealant coats the inside of your tires as they spin and – should you puncture – will seal leaks before too much air escapes. Initially developed for off-road riding, tubeless systems are the standard for mountain and gravel bikes. In recent years, road cycling has transitioned to wider tires with both professionals and recreational riders adopting tubeless systems for their speed, reliability, and simplicity.
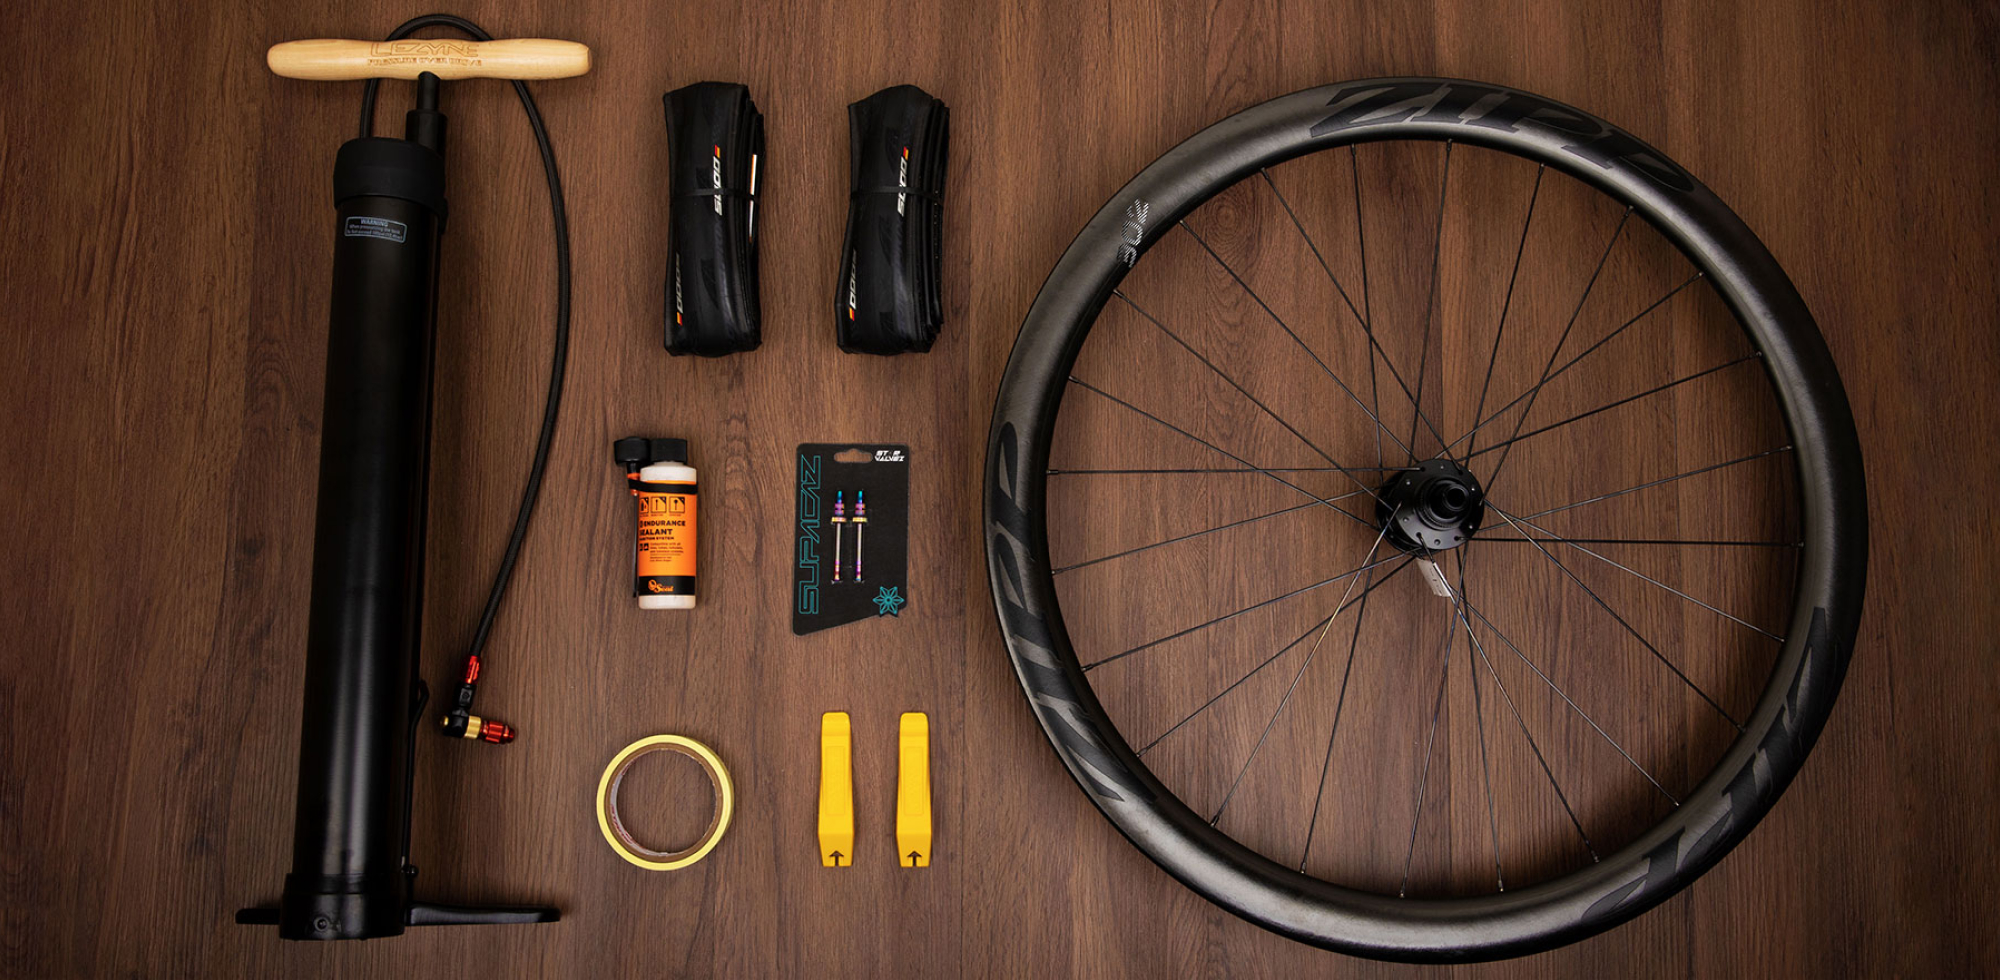
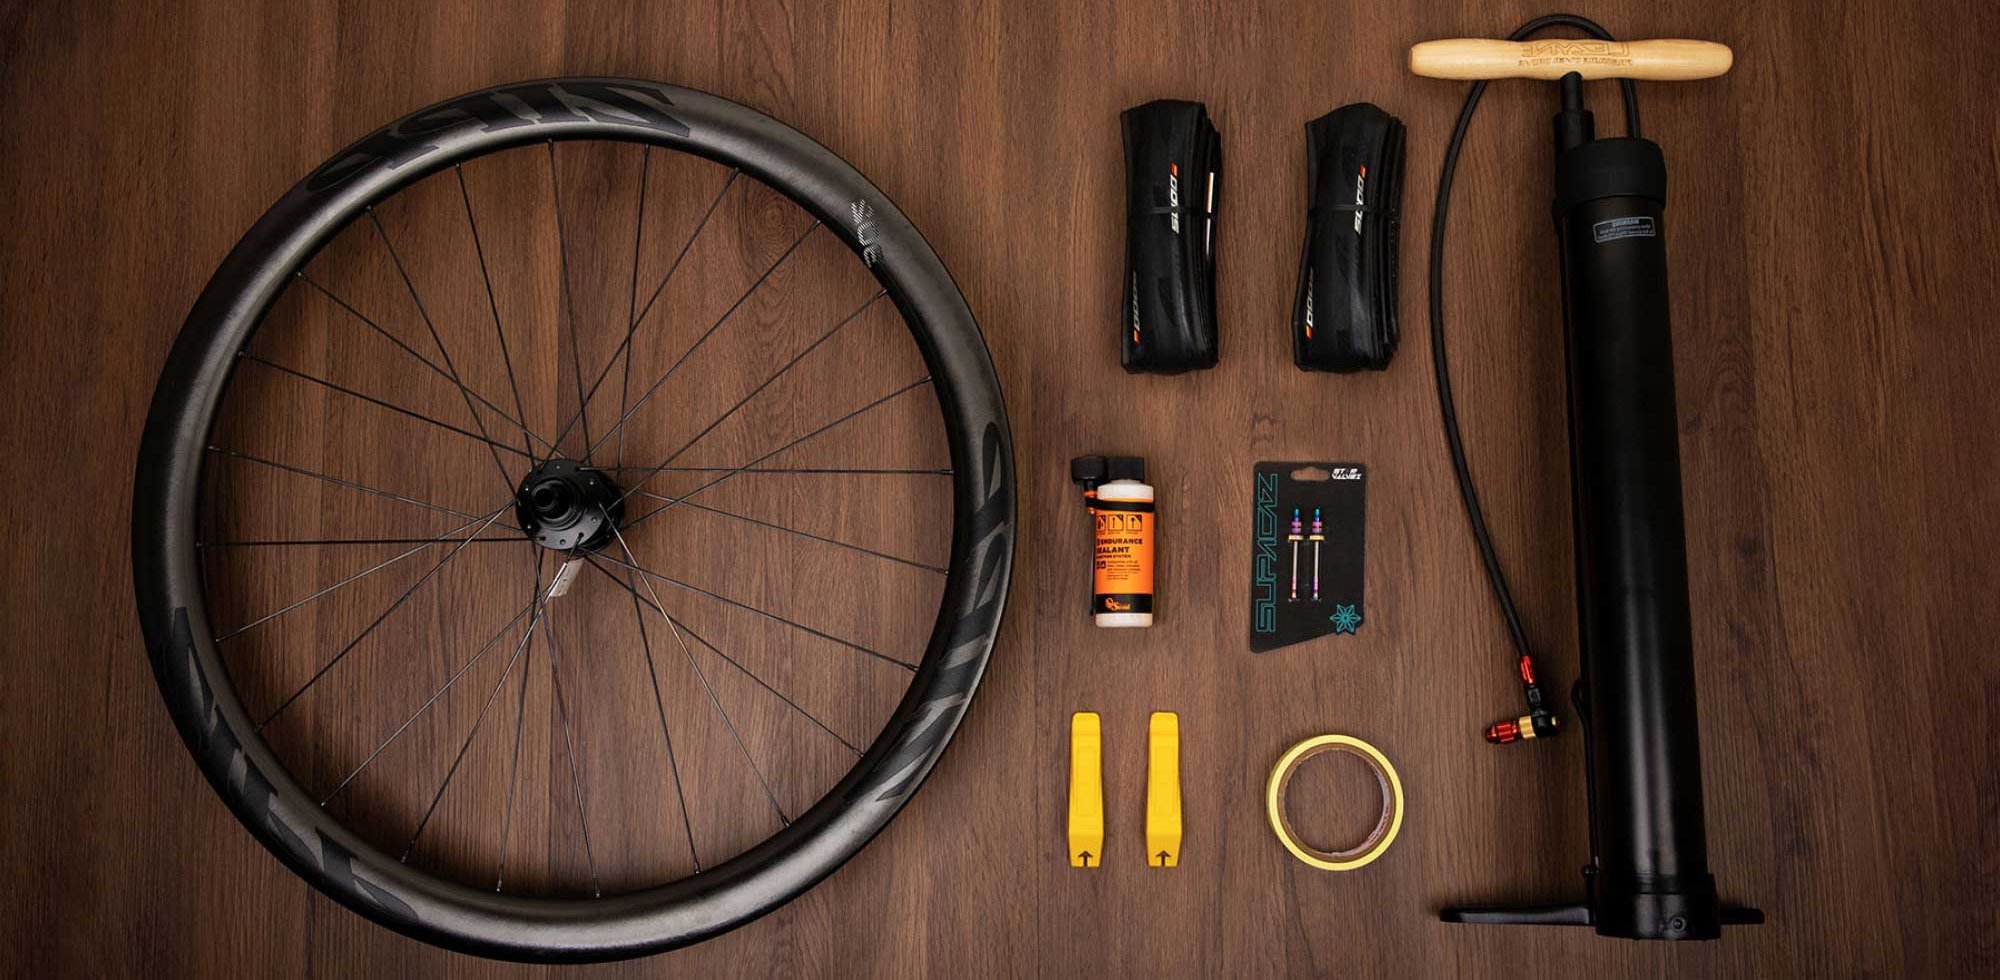
Quick Overview
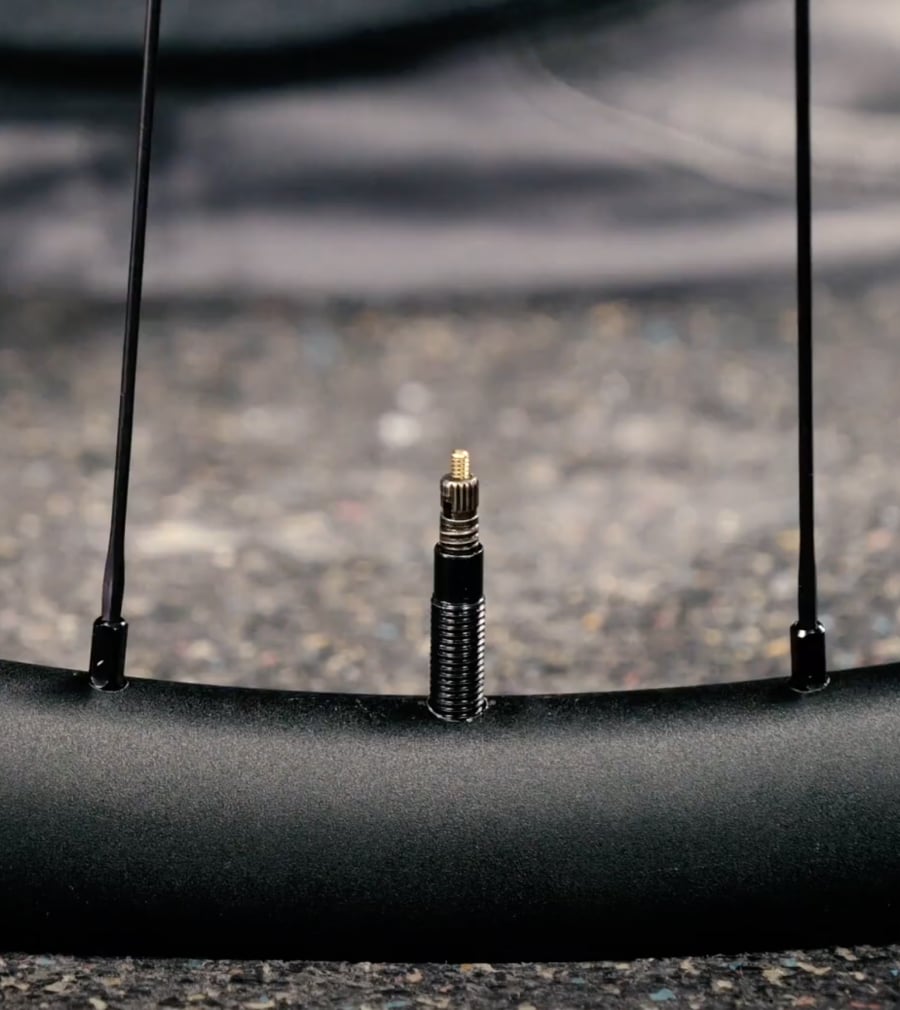
Tubeless wheels differ from traditional wheels in that they have a bead lock rim that allows a tubeless tire to catch and become airtight. Using a tubeless-ready wheel simplifies both setup and maintenance. Plus, using a non-compatible rim can be downright dangerous. Some wheels may require additional rim tape to set them up for tubeless, others come with tape pre-installed. If you're looking to upgrade, check out these tubeless wheels:
Reasons to switch to tubeless:
- Fewer flat tires
- Quick roadside tire repair
- Ability to run lower pressures
- Better ride quality & handling
- Faster over most surfaces
Reasons tubeless might not be for you:
- You forget to do routine maintenance
- You don’t want to learn a new way to fix a flat
- Cost of a tubeless-ready wheelset and required equipment
Benefits
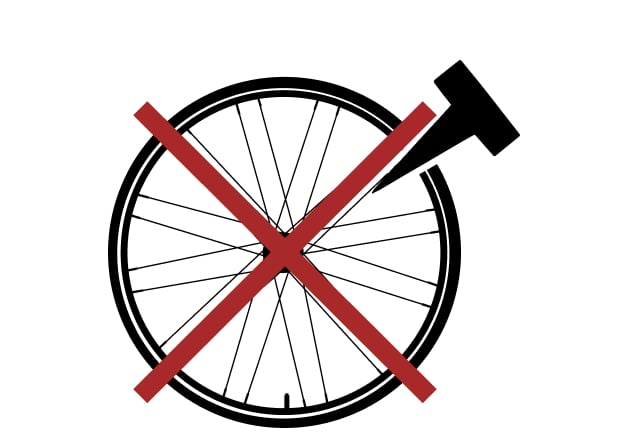

Flat Tires Be Gone
It may sound too good to be true, but it really does work. Sometimes you’ll get home from a ride and notice some dried sealant on the seat tube. In the past, you would have been on the side of the road patching up an inner tube. But today, this small puncture sealed before you even noticed. Other times, you may get glass or thorns embedded in your tire. When this happens, you could still ride for months without issues.
On occasion, a larger puncture occurs. This is usually a bigger gash or hole from a sharp object like a blade, nail, or box staple. In this case, where it’s too big for sealant to work, a tubeless plugging tool is the solution. At Performance, we are huge fans of Dynaplugs. We think that no other plugs work as well for road bikes. In fact, Dynaplugs are part of why we feel road tubeless is worth the effort. For an in-depth look into Dynaplugs, check out this article.
Smooth Riding
Gone are the days of maxing out your road tires to 120 PSI. We know better than that now. Not only is it more comfortable to run lower pressures, science shows that it’s also faster. Lower pressure offers pneumatic suspension, which evens out inconsistencies in the road’s surface, preventing up and down momentum losses and sending more of that kinetic energy forwards. The only place where tubed tires are still competitive is on a perfectly smooth track with no risk of punctures – hardly the real-world riding conditions most of us experience.
With the risk of pinch flats eliminated, most tubeless road tires should be inflated to between 45 and 80 PSI for best results. This chart from ENVE is a great starting point for finding tire pressure recommendations based on rider weight, tire width, and your wheel’s inner rim width (it references specific ENVE rims but can be generalized and used for any road rims).
Topping Off
For most riders, switching to tubeless means learning a whole new method of tire installation and maintenance. The initial process of mounting and seating tubeless tires (which we cover in Part #3) can be the most challenging aspect of tubeless. Many cyclists have frustrating horror stories of tubeless tires that simply would not seat or were so challenging to install that it resulted in broken tire levers. That’s why we’ve created this series – to share our tips and best practices for getting the most out of tubeless.
Once installed, tubeless tires require that you add sealant every 3 to 4 months. Otherwise, the liquid may dry out and no longer be able to seal punctures. While this process only takes a few minutes, we’ve seen many riders complain about terrible experiences with tubeless when, in fact, they simply neglected to maintain their equipment.
Ready to Try Tubeless?
We love tubeless, but we also understand that it can be daunting to learn a new technology. That’s why we’ve put this guide together to give you all the info needed to get your tires rolling.
SHOP ALL TUBELESS tiresRelated Articles